Project at a Glance
- Location
- Roseville, CA
- Project type
- Shower Remodeling
- Key materials
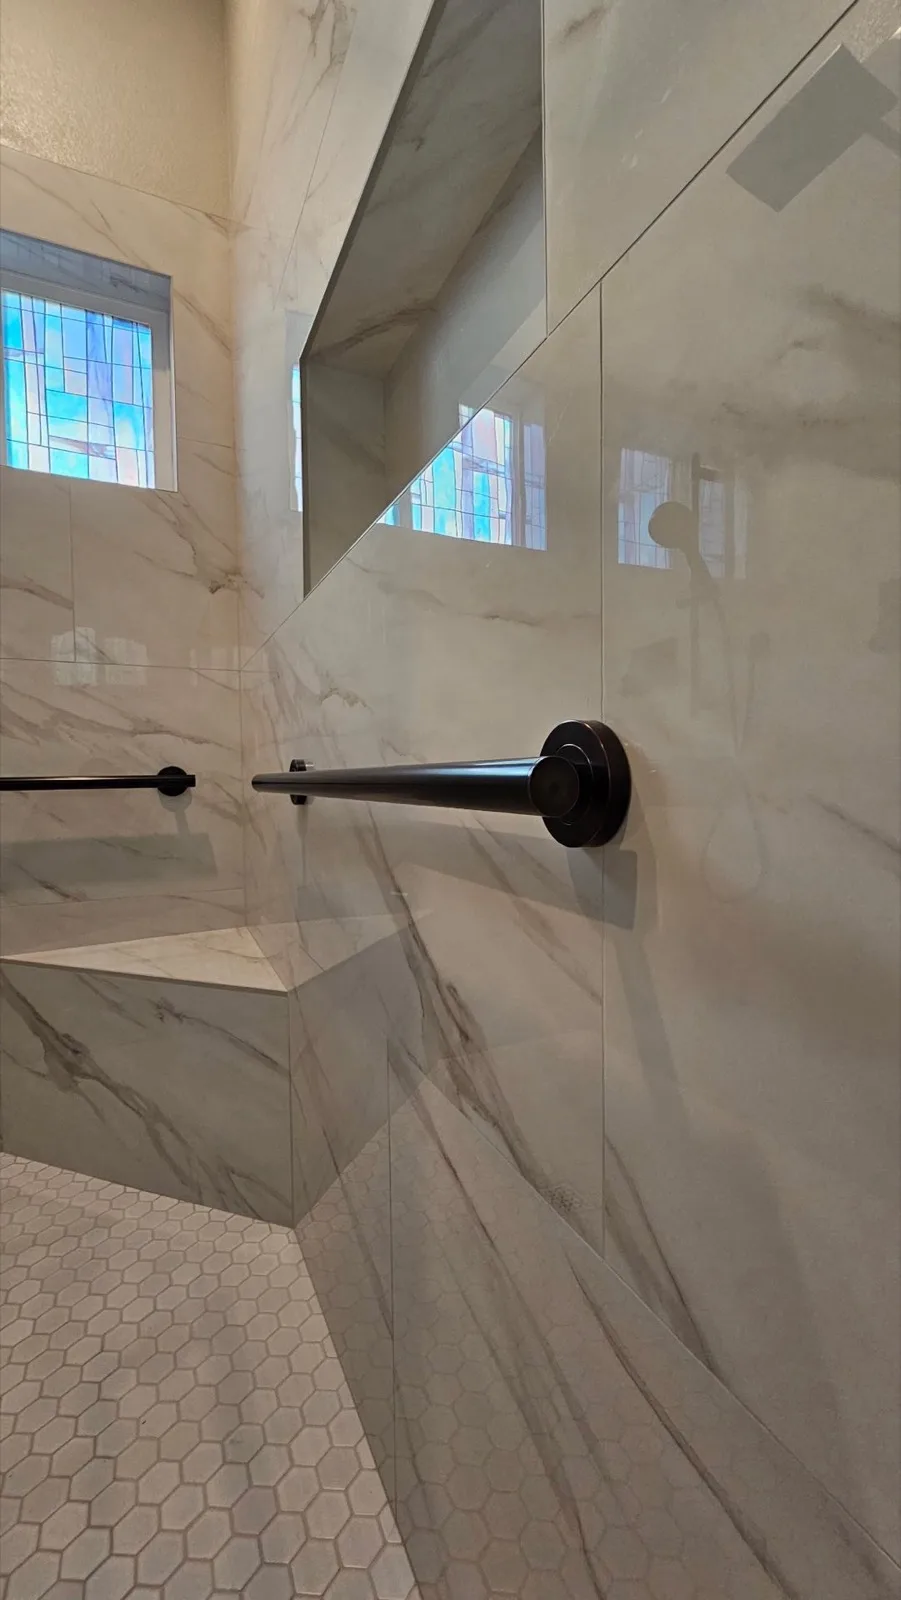
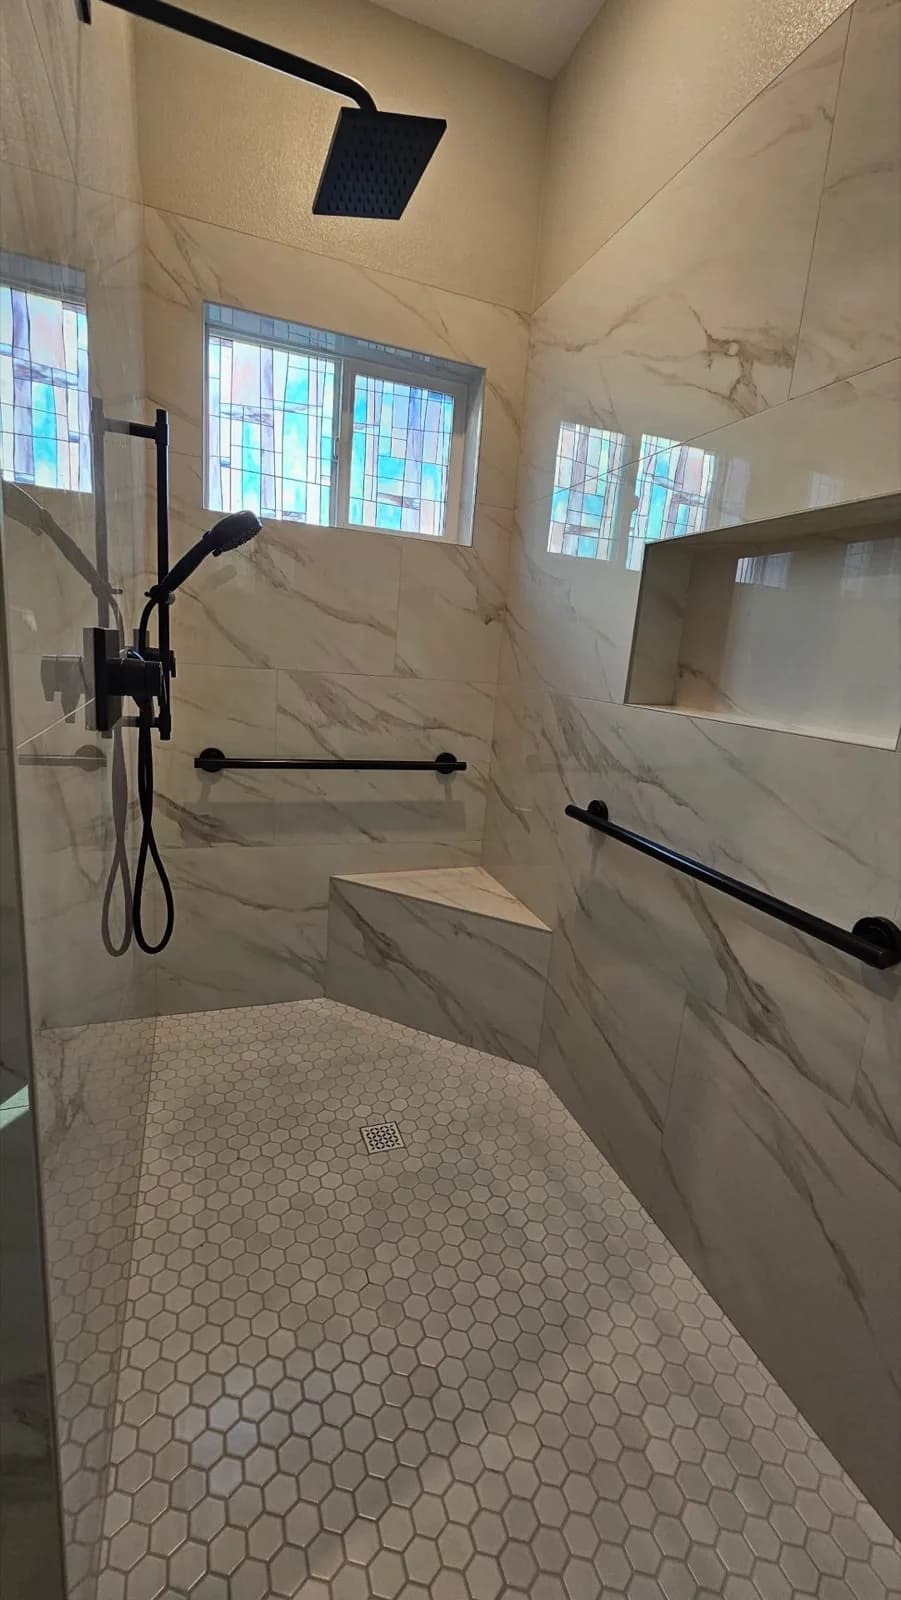
- Large-format Calacatta marble-look polished porcelain tile; White hex mosaic shower floor base; Dual matte black shower system (rain head + handheld on separate control valves)
- Contractor
- Oakwood Remodeling Group, Rocklin, CA (Lic #1125321)
Before & After
BEFORE
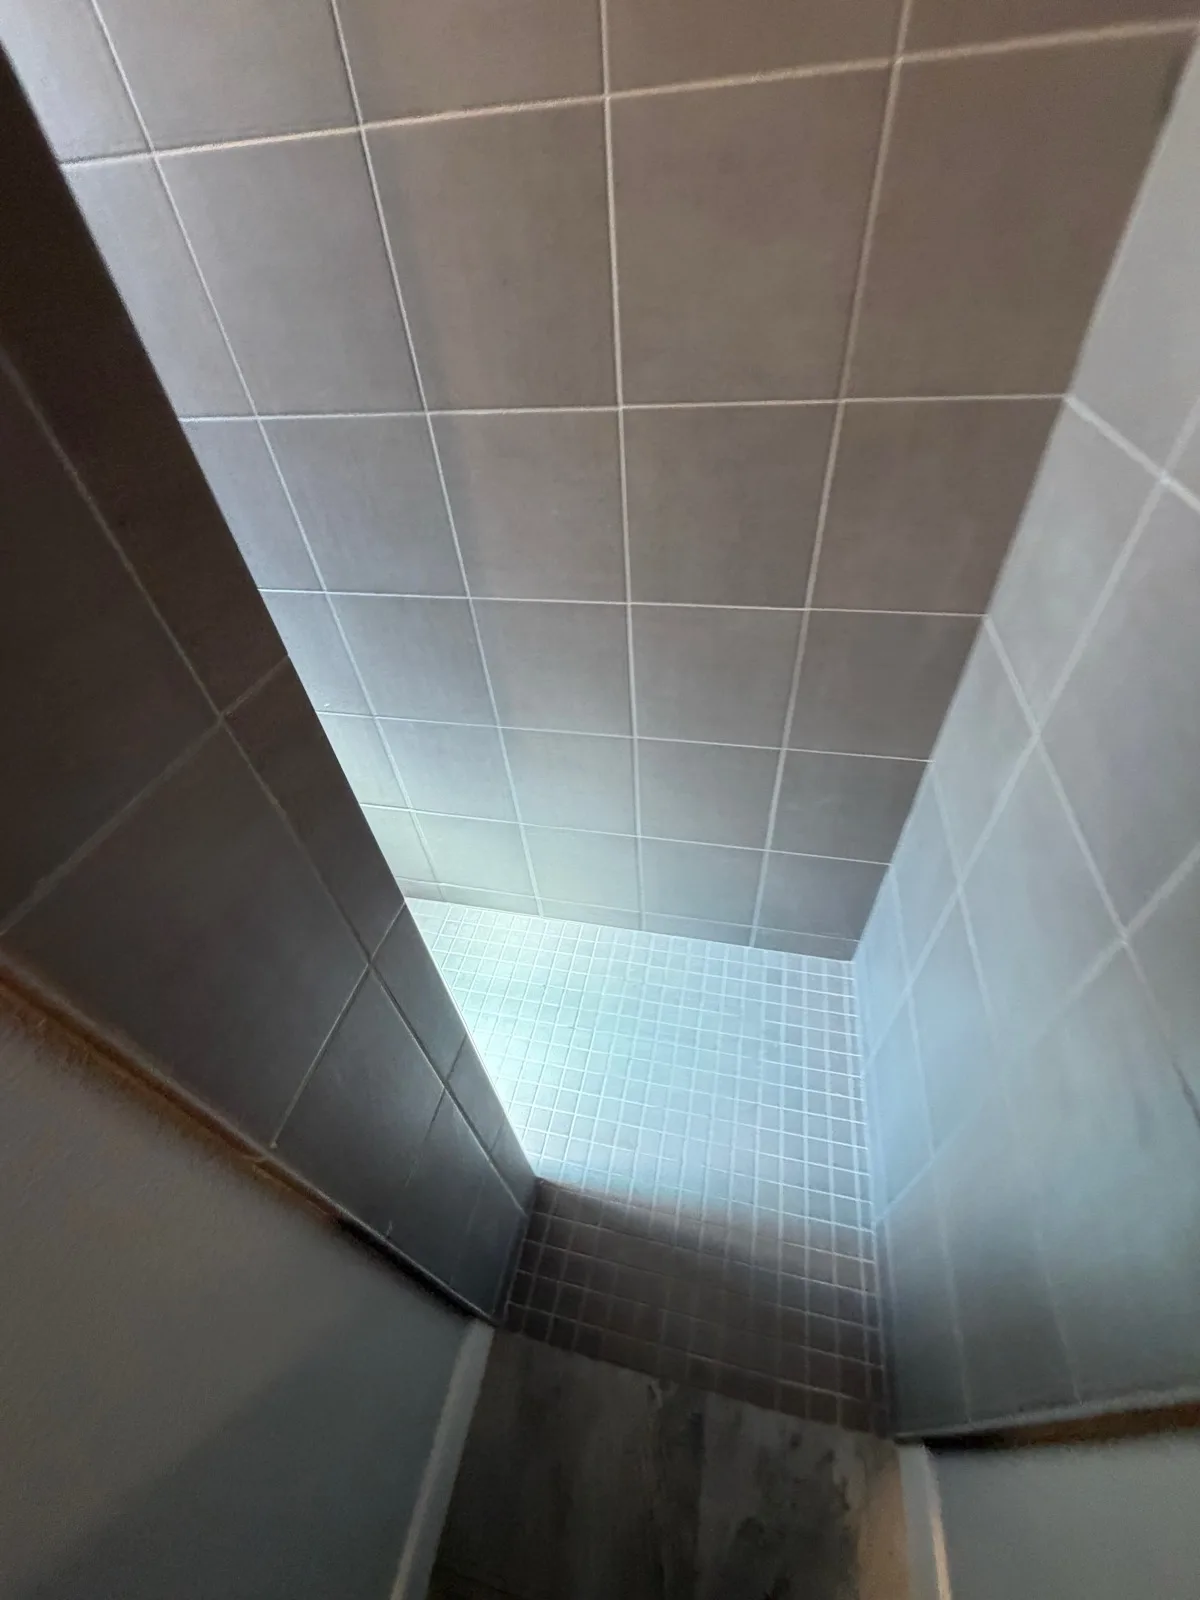
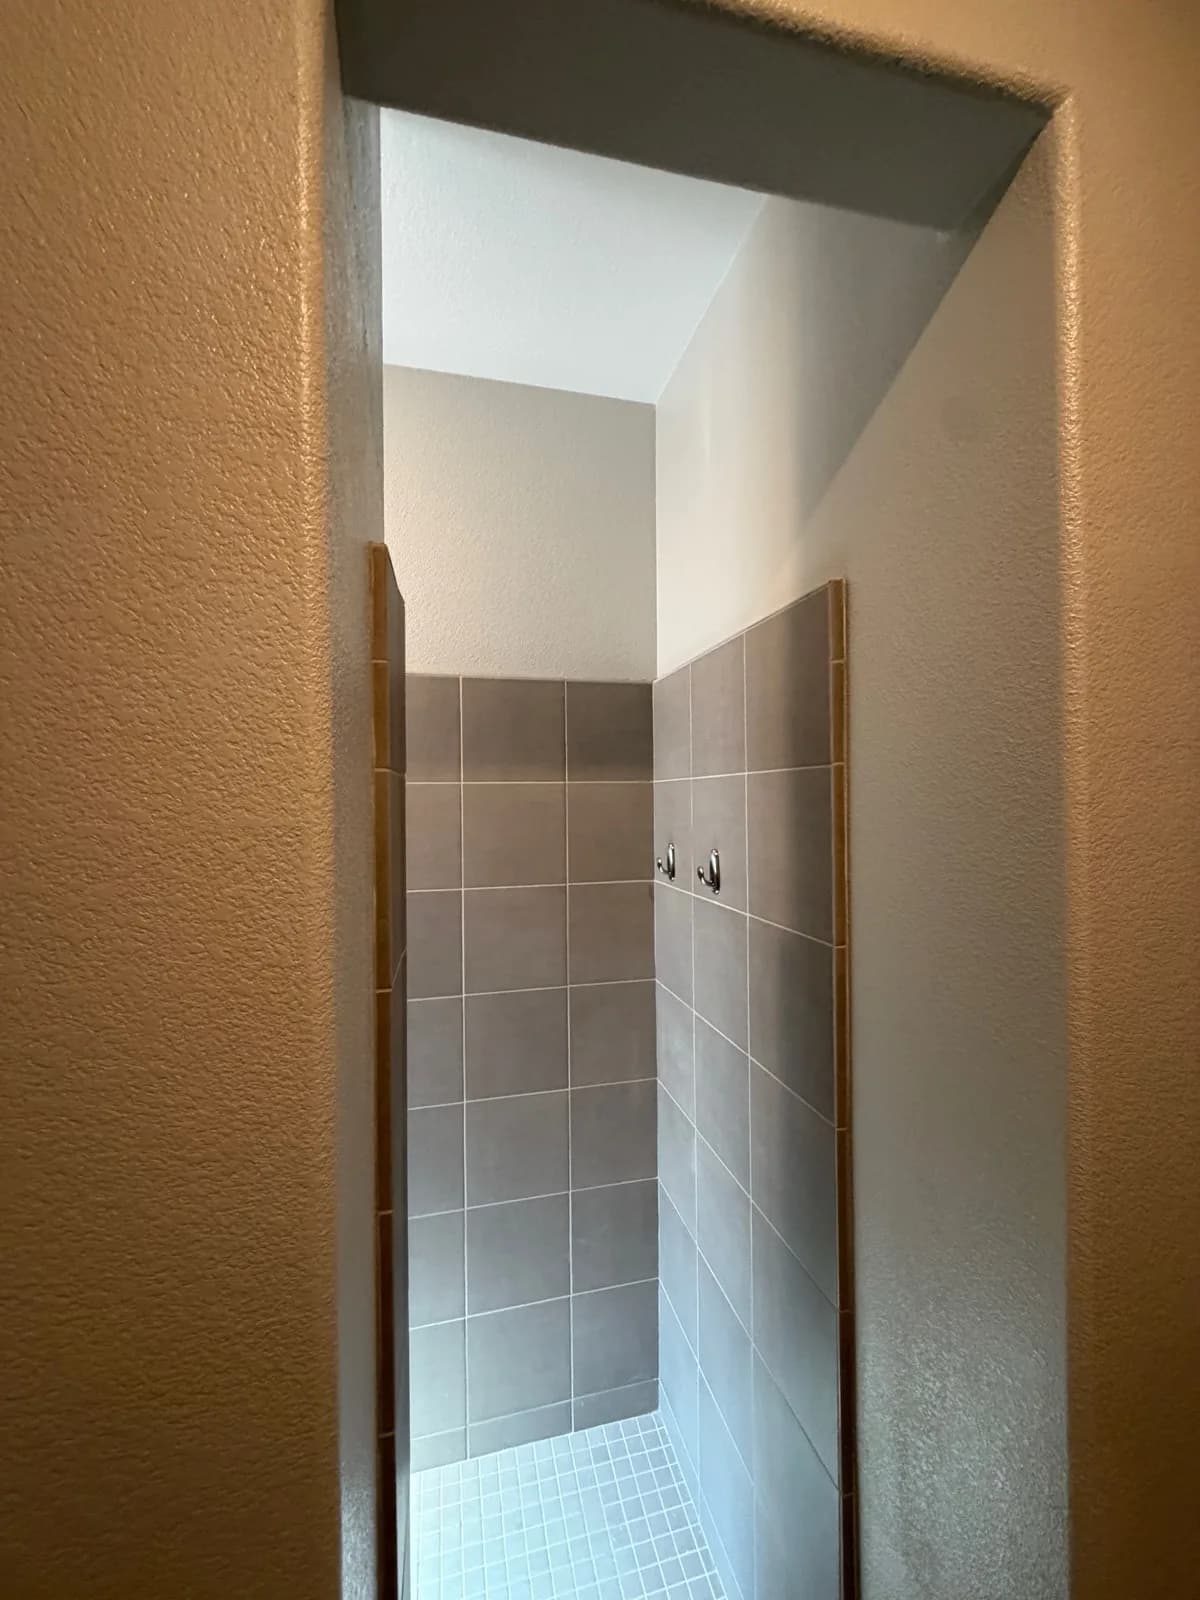
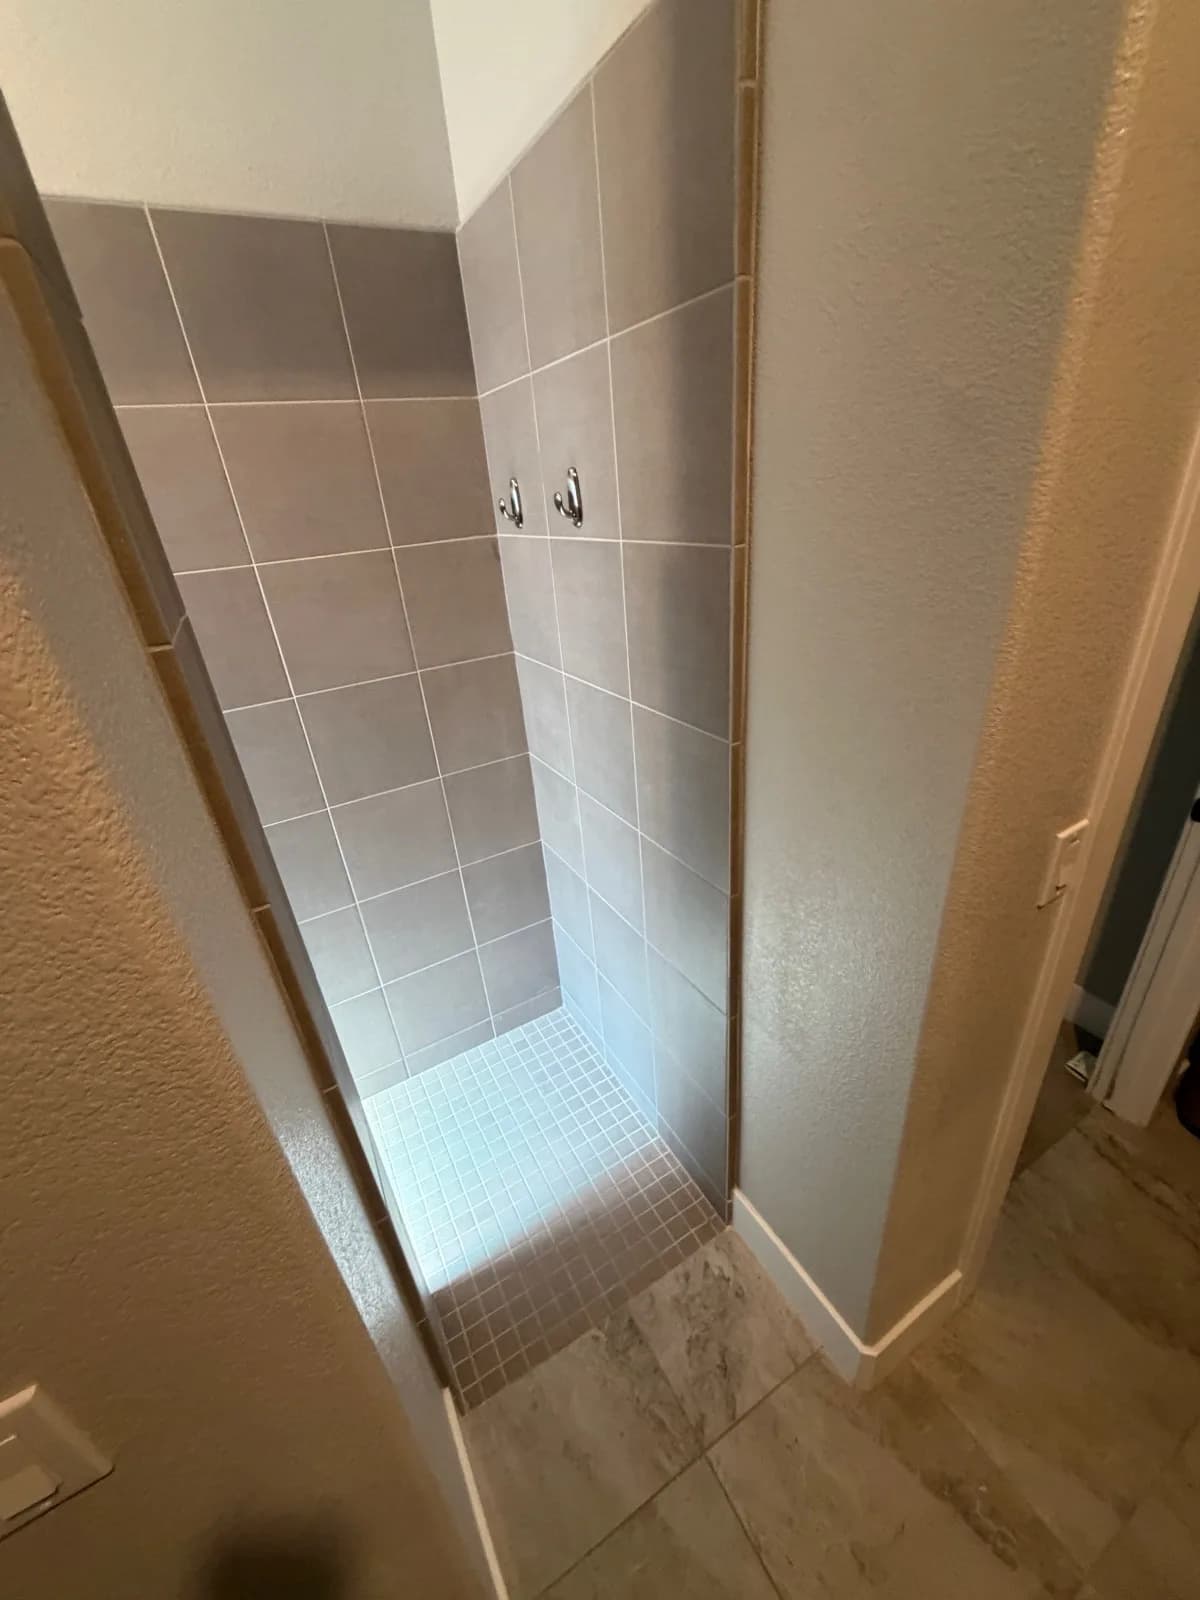
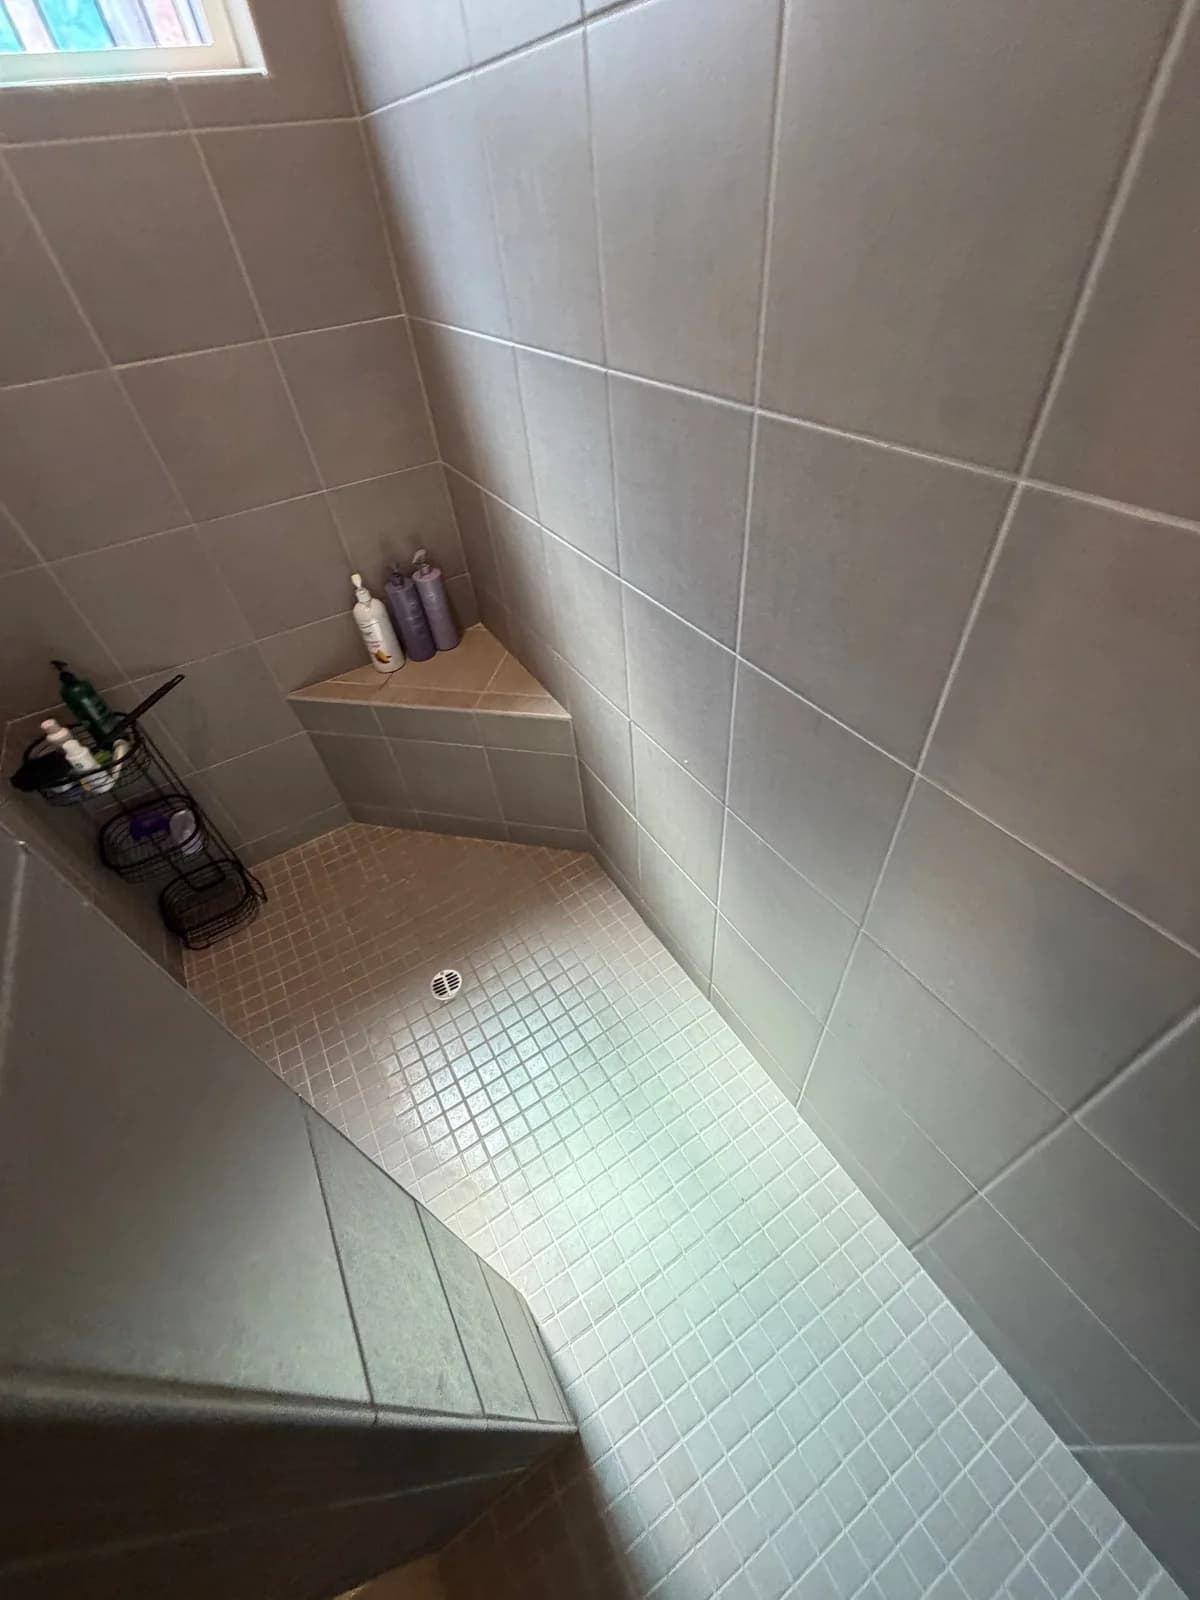
AFTER
The Challenge
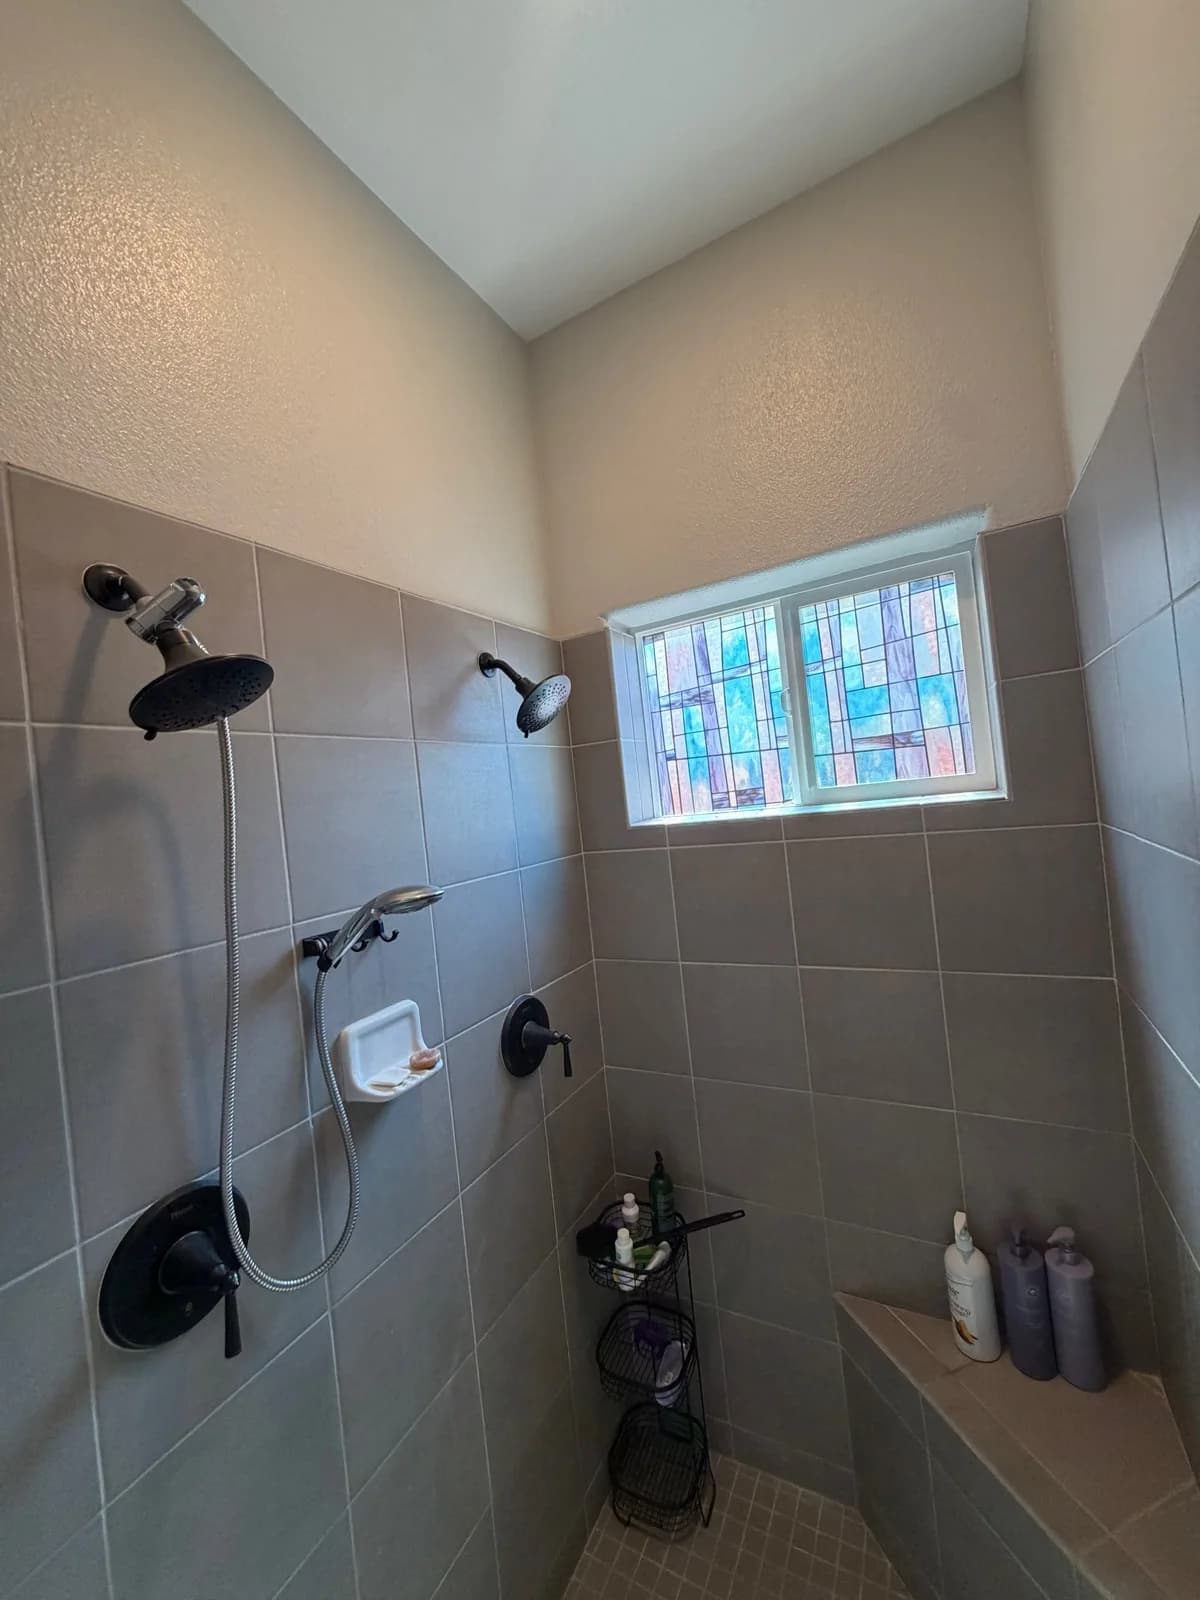
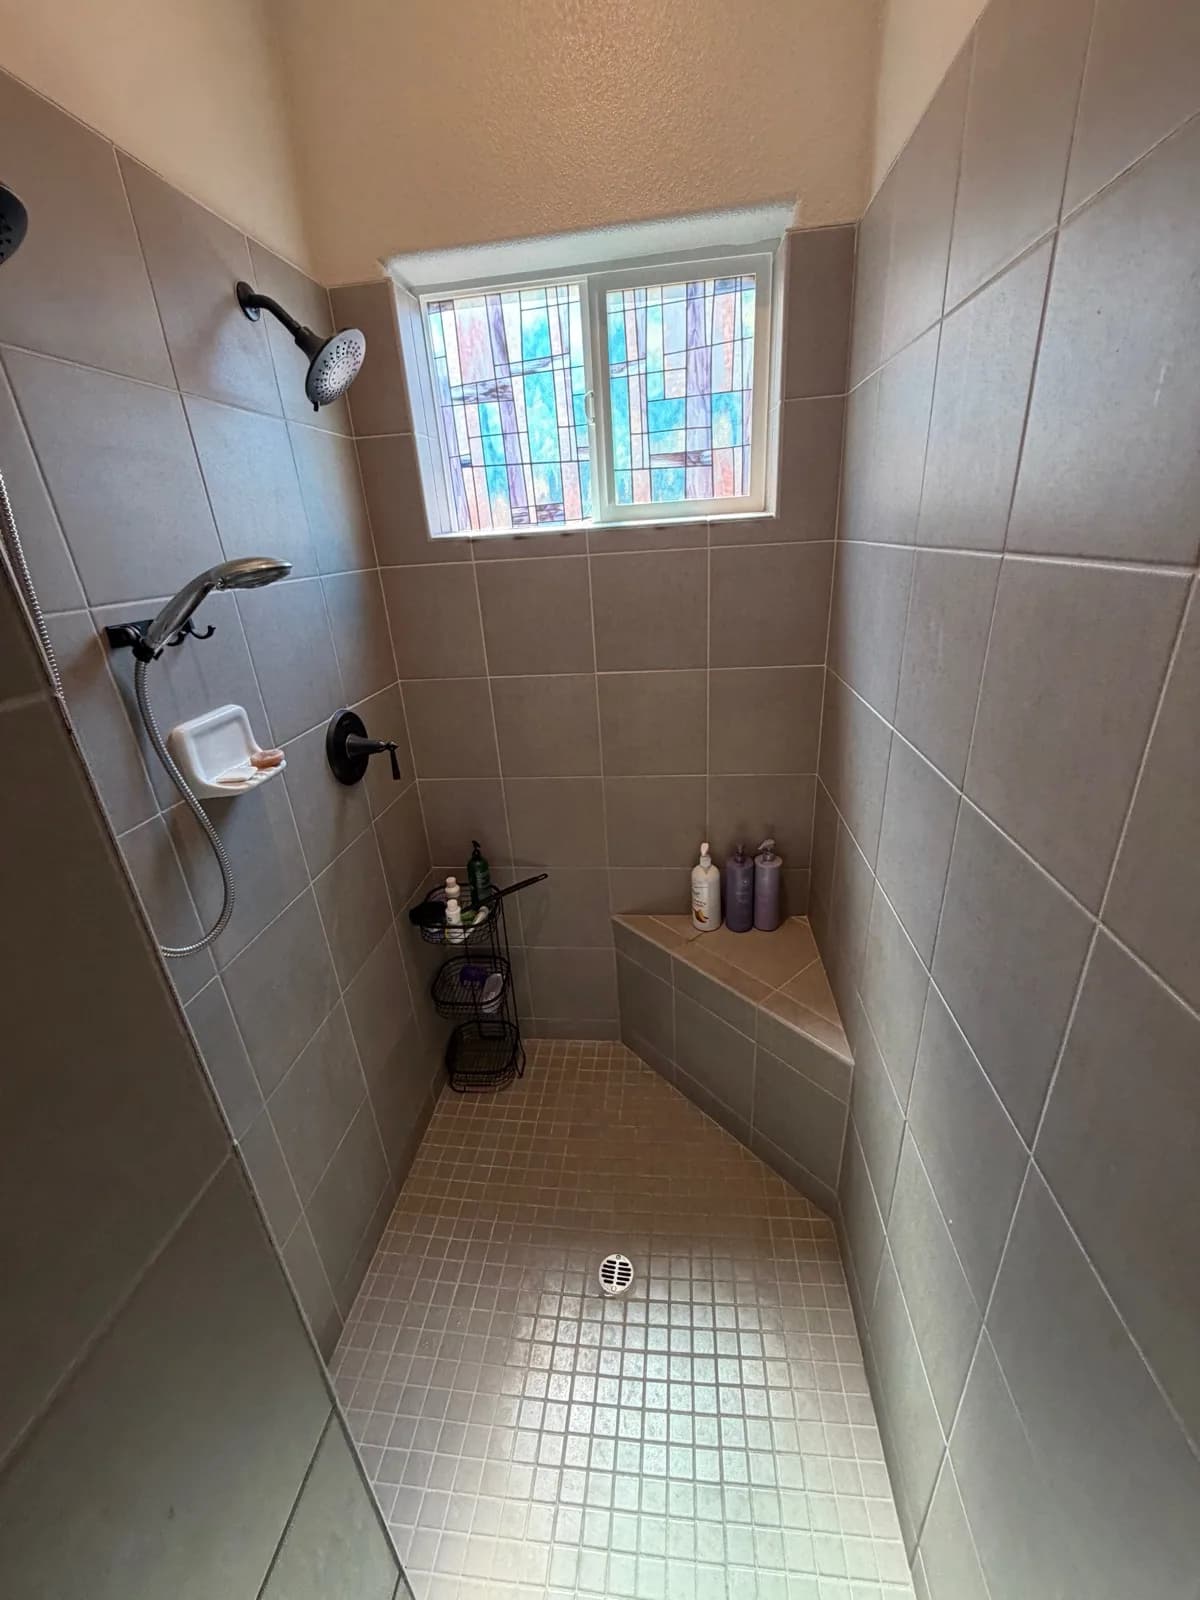
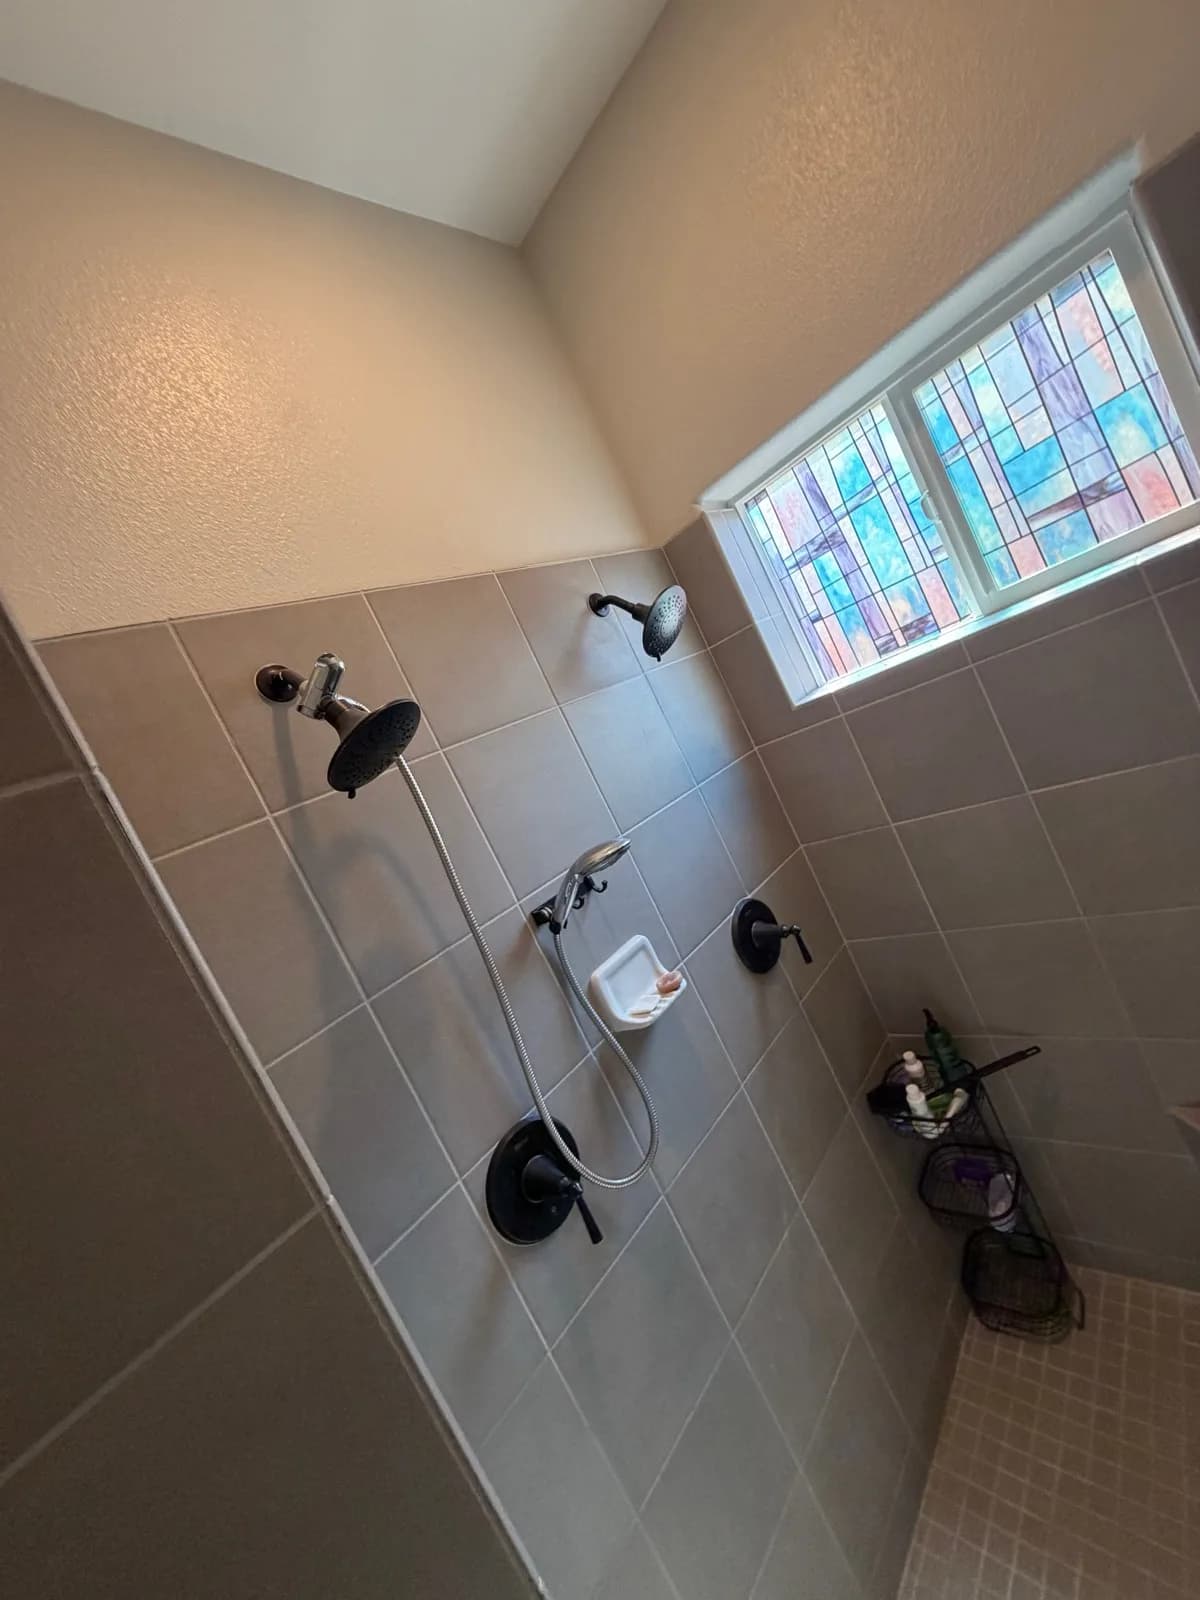
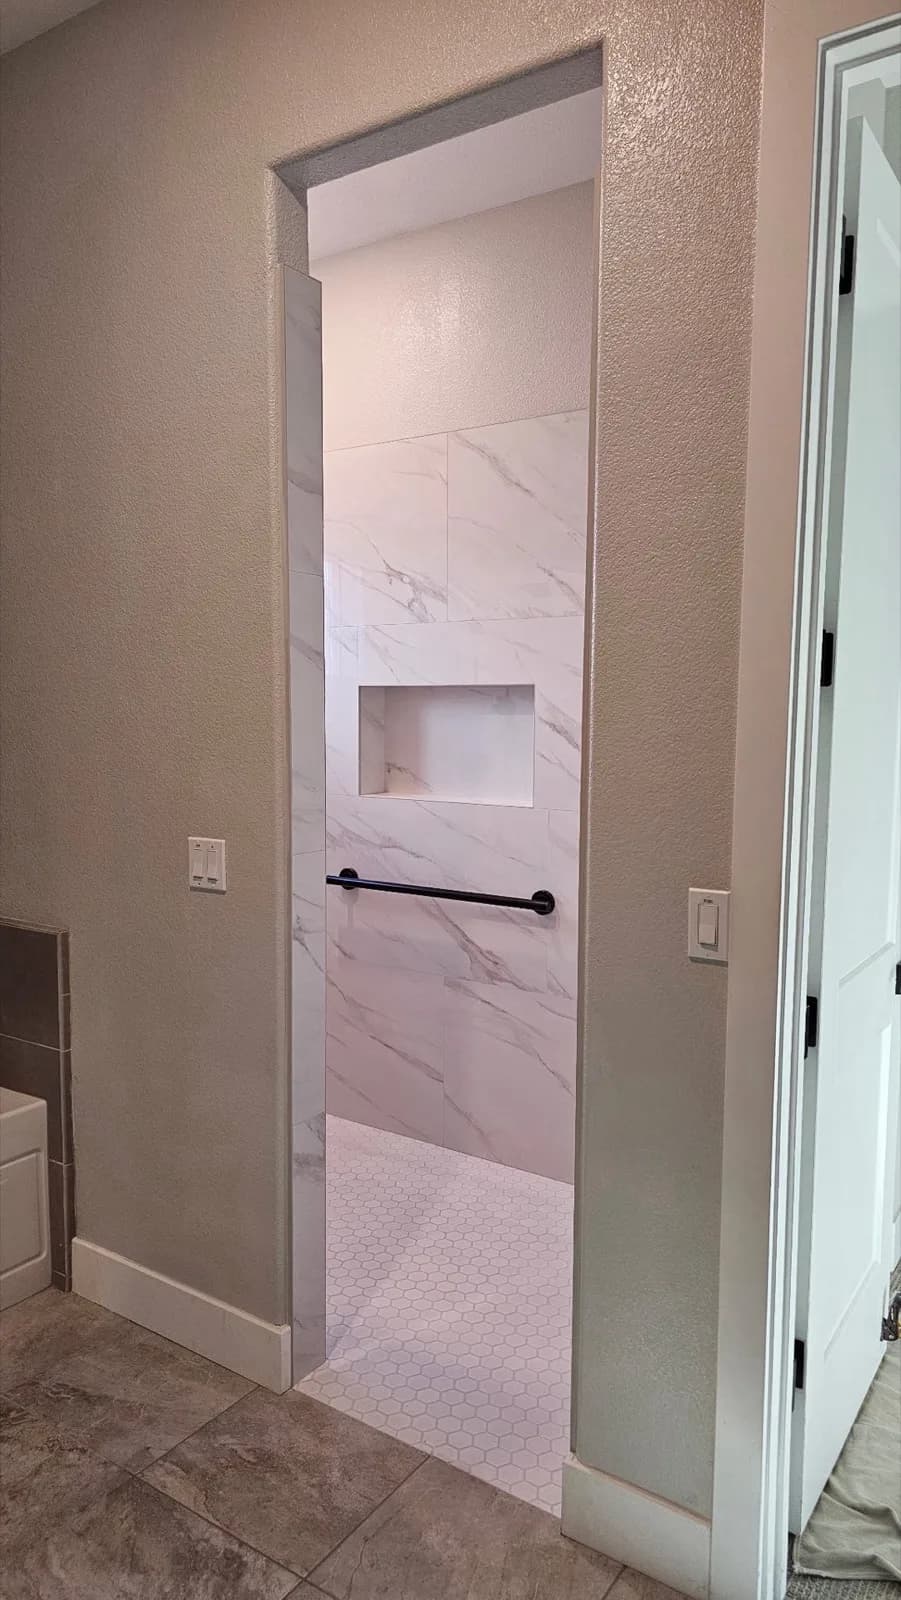
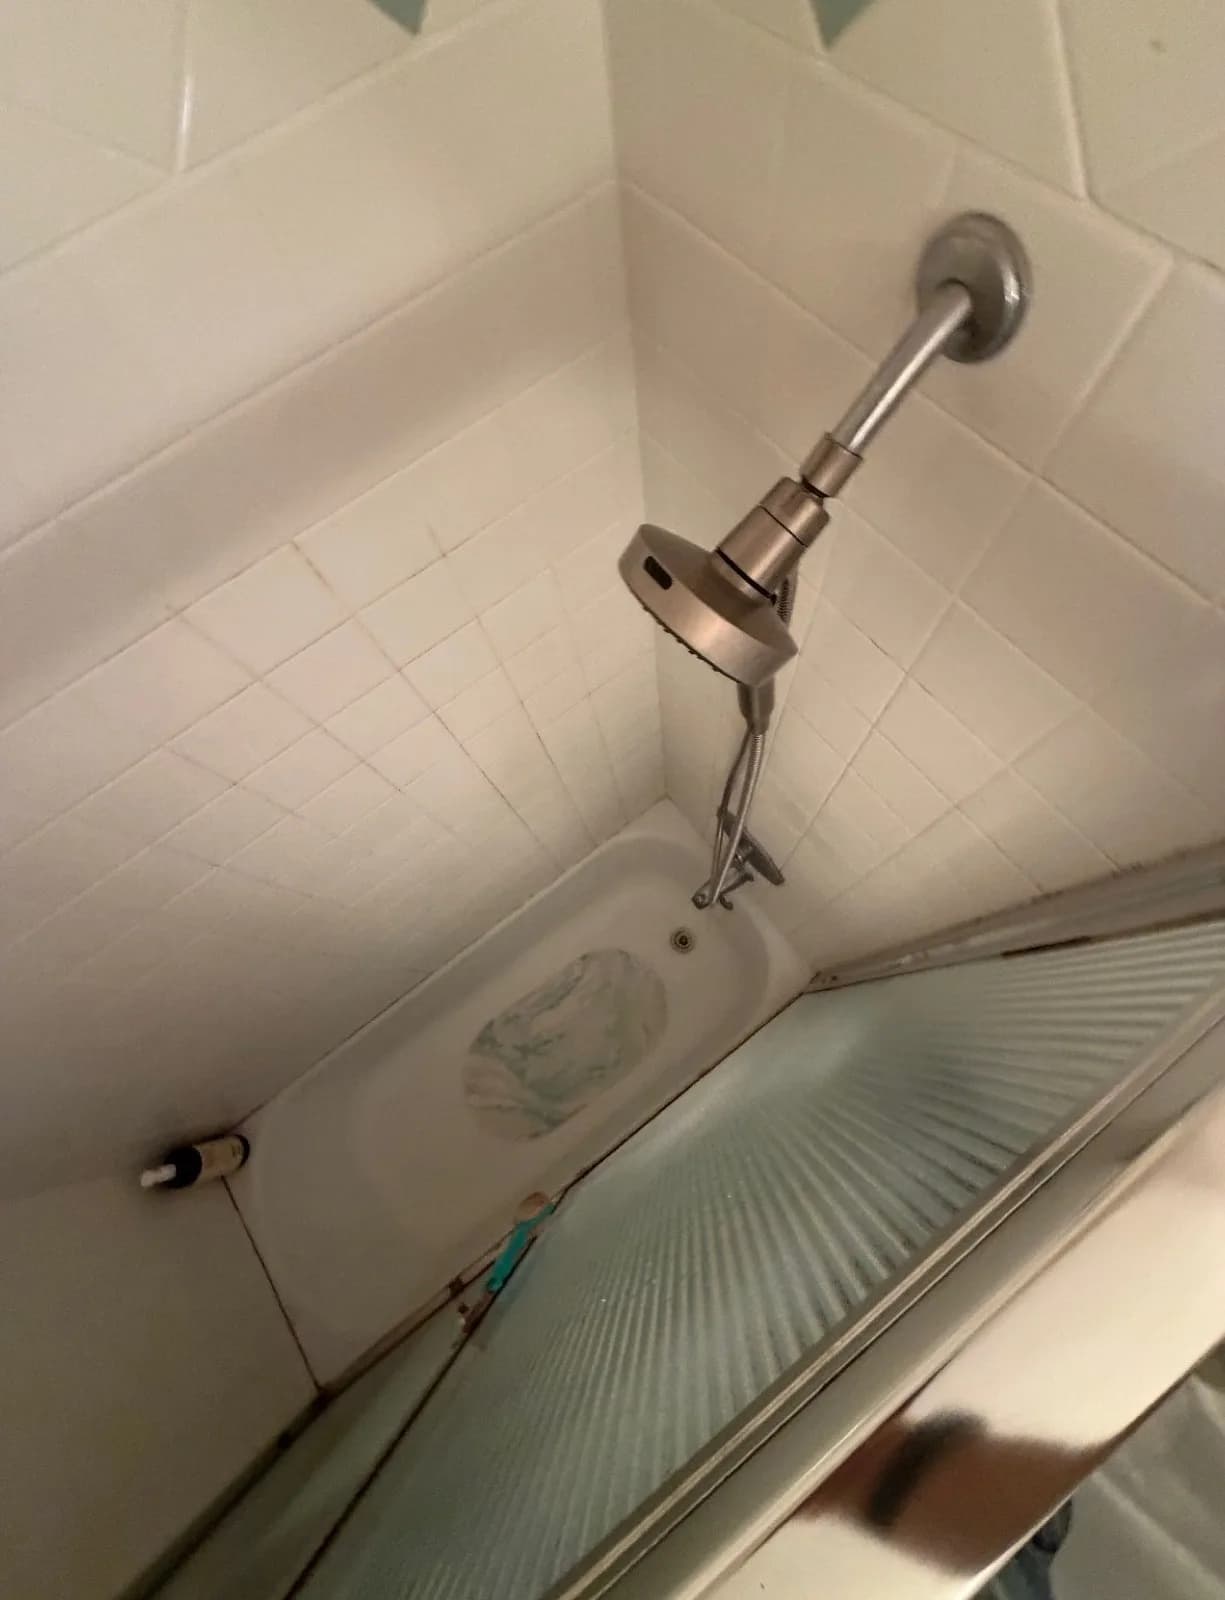
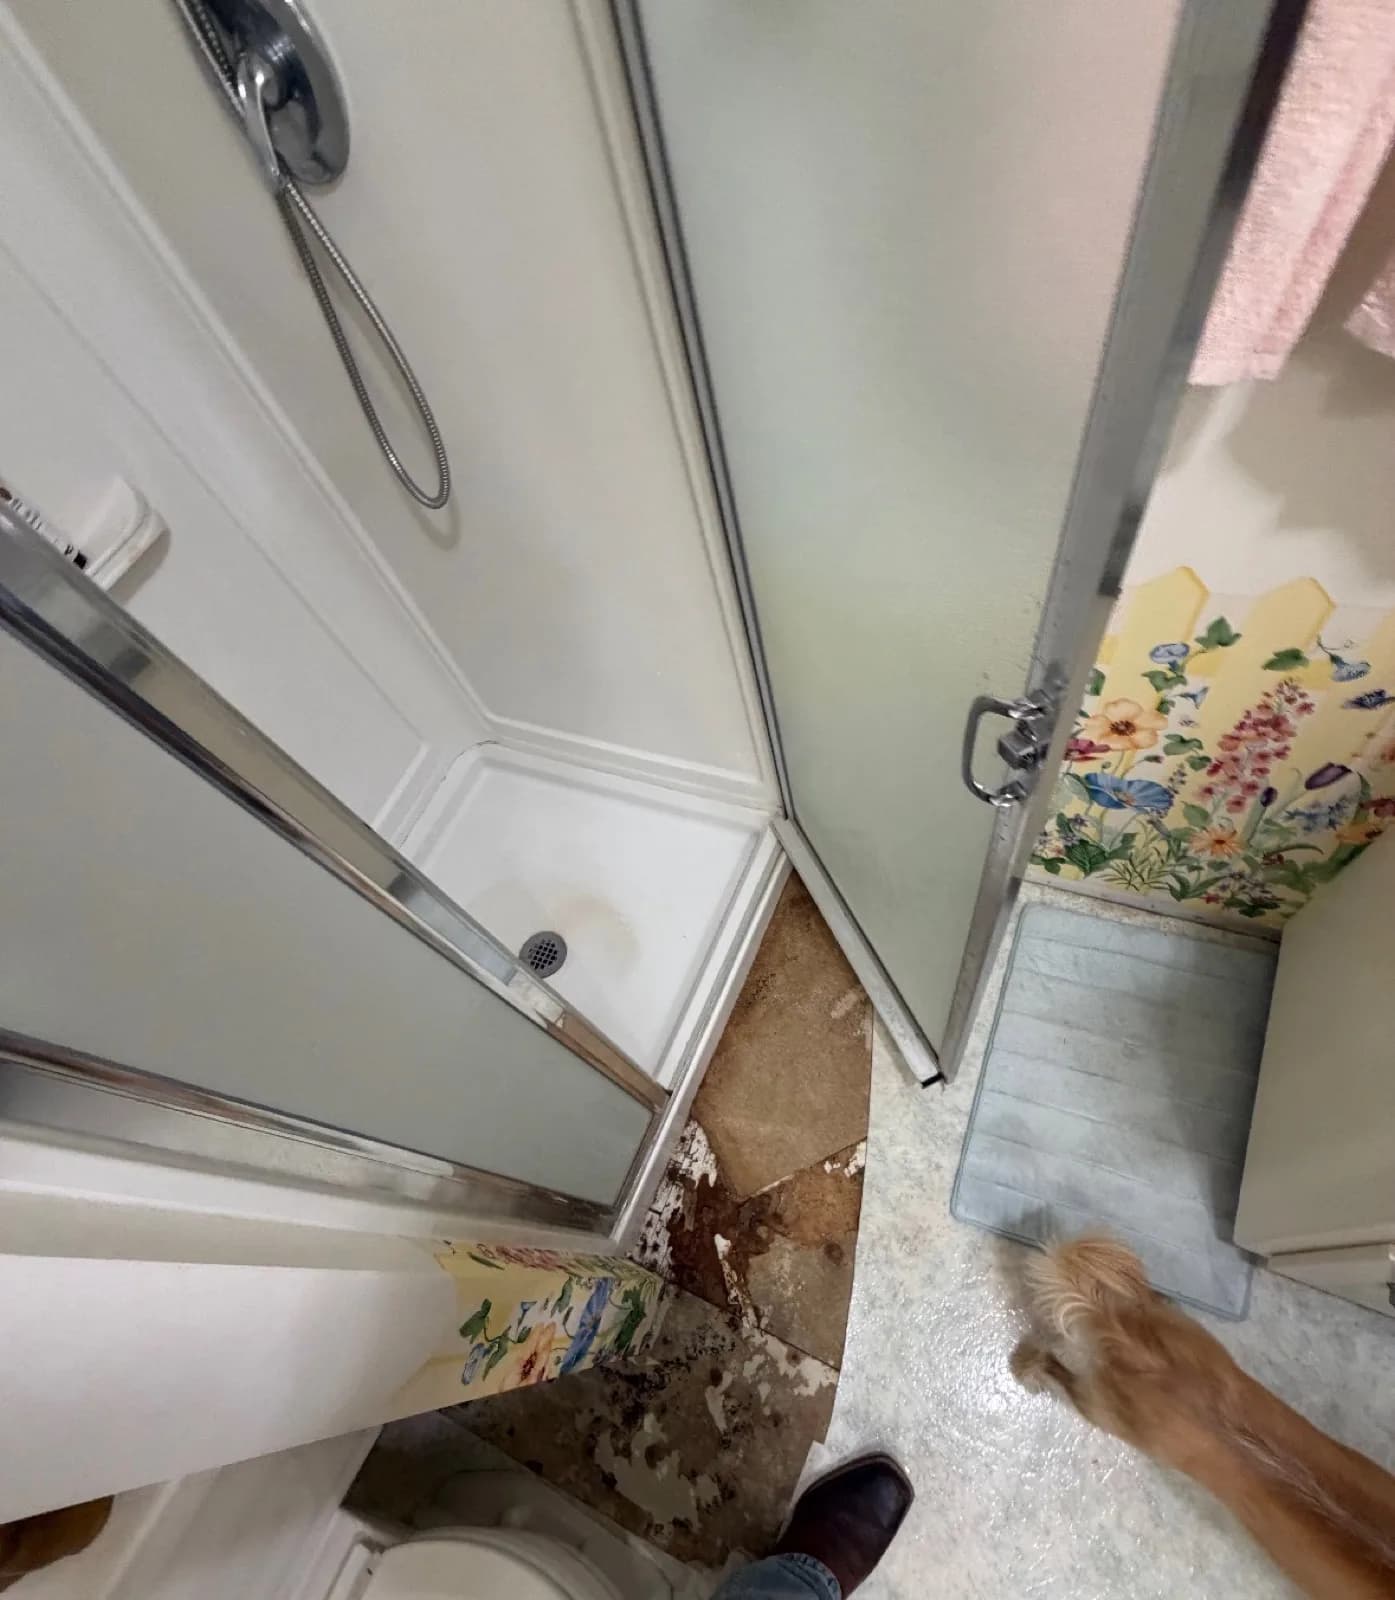
The homeowners in this Roseville home needed all three bathrooms addressed at once. The primary shower had to be made fully wheelchair accessible — the existing stall was too narrow for a wheelchair, the entry was tightly framed, and there were no grab bars or bench. The other two showers had a different problem: dry rot under the flooring at the entries and dated white tile that had aged beyond cleaning. Each shower needed a different solution, and the homeowners wanted each to have its own look.
Our Solution
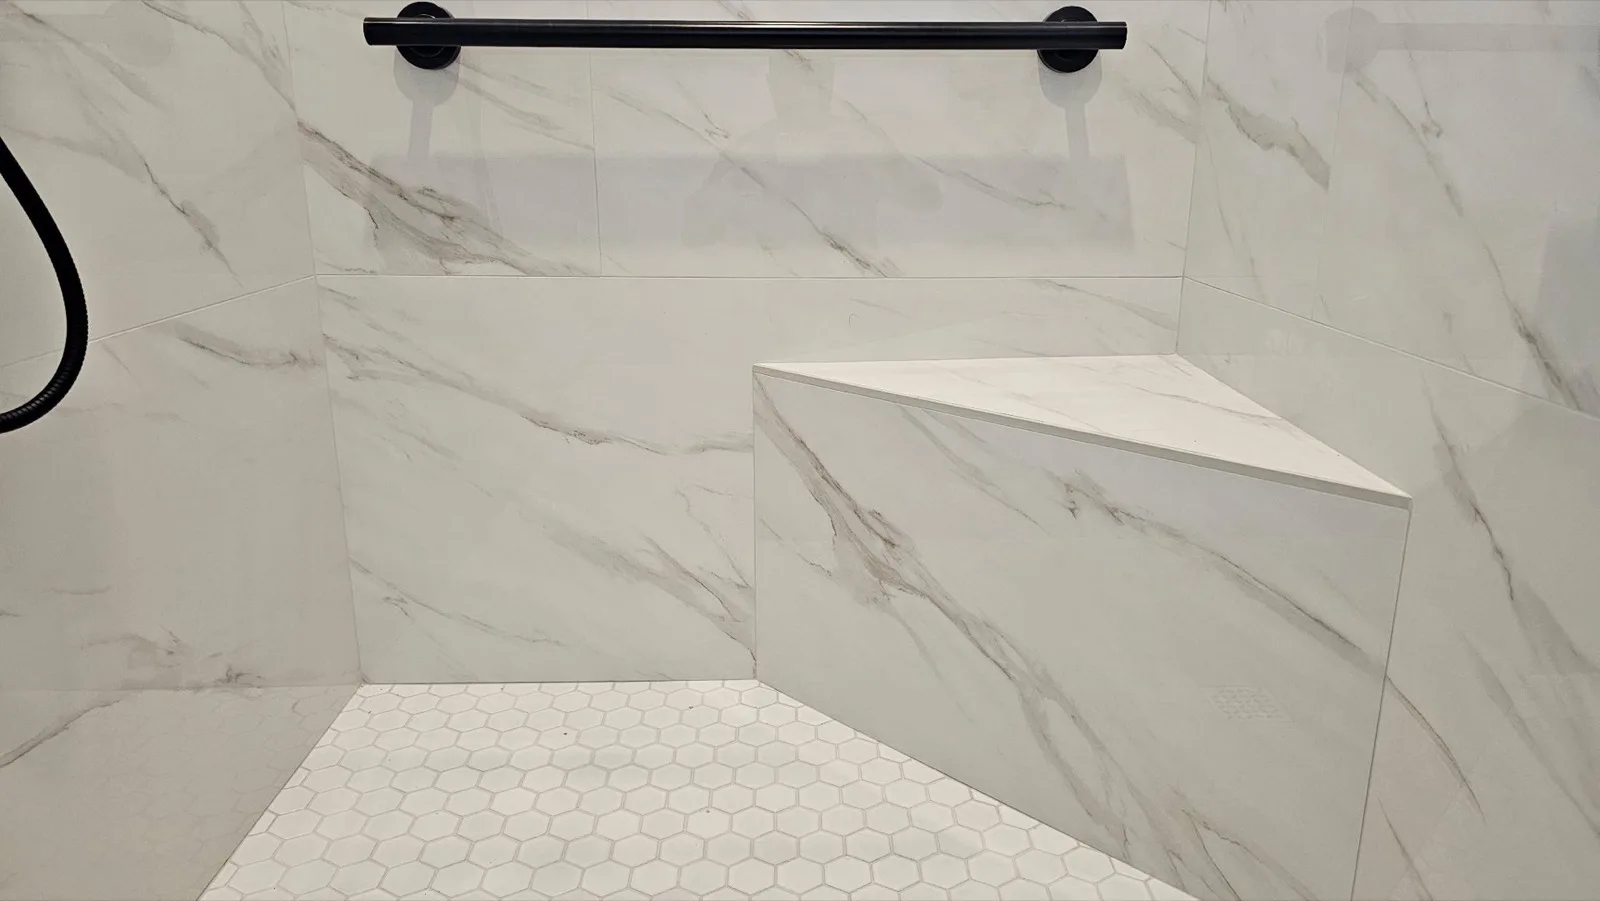
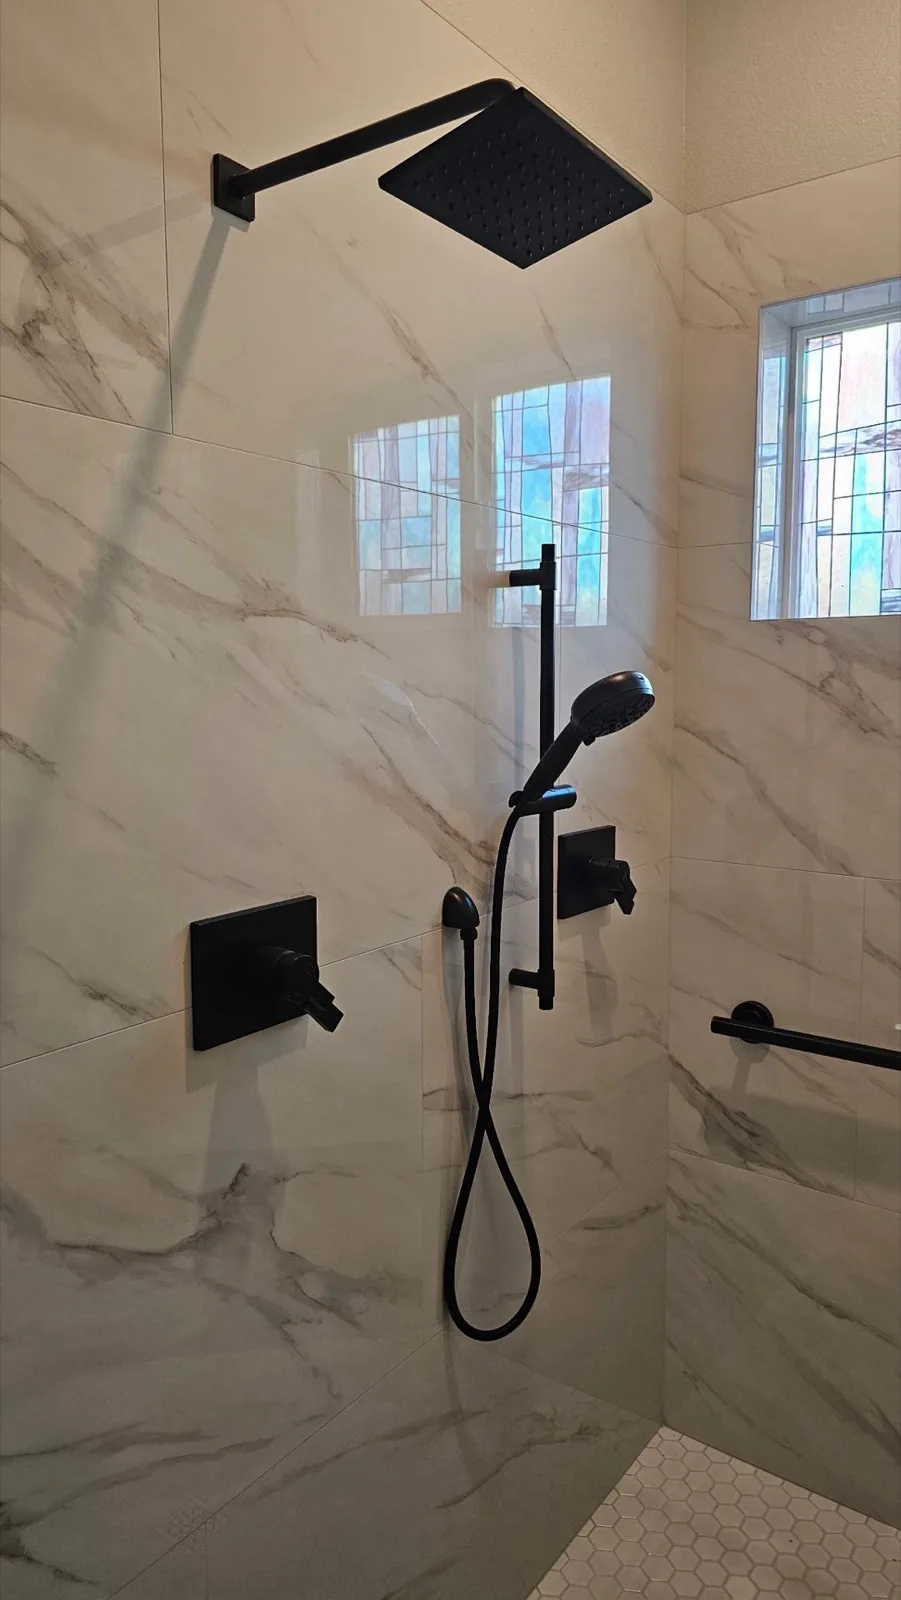
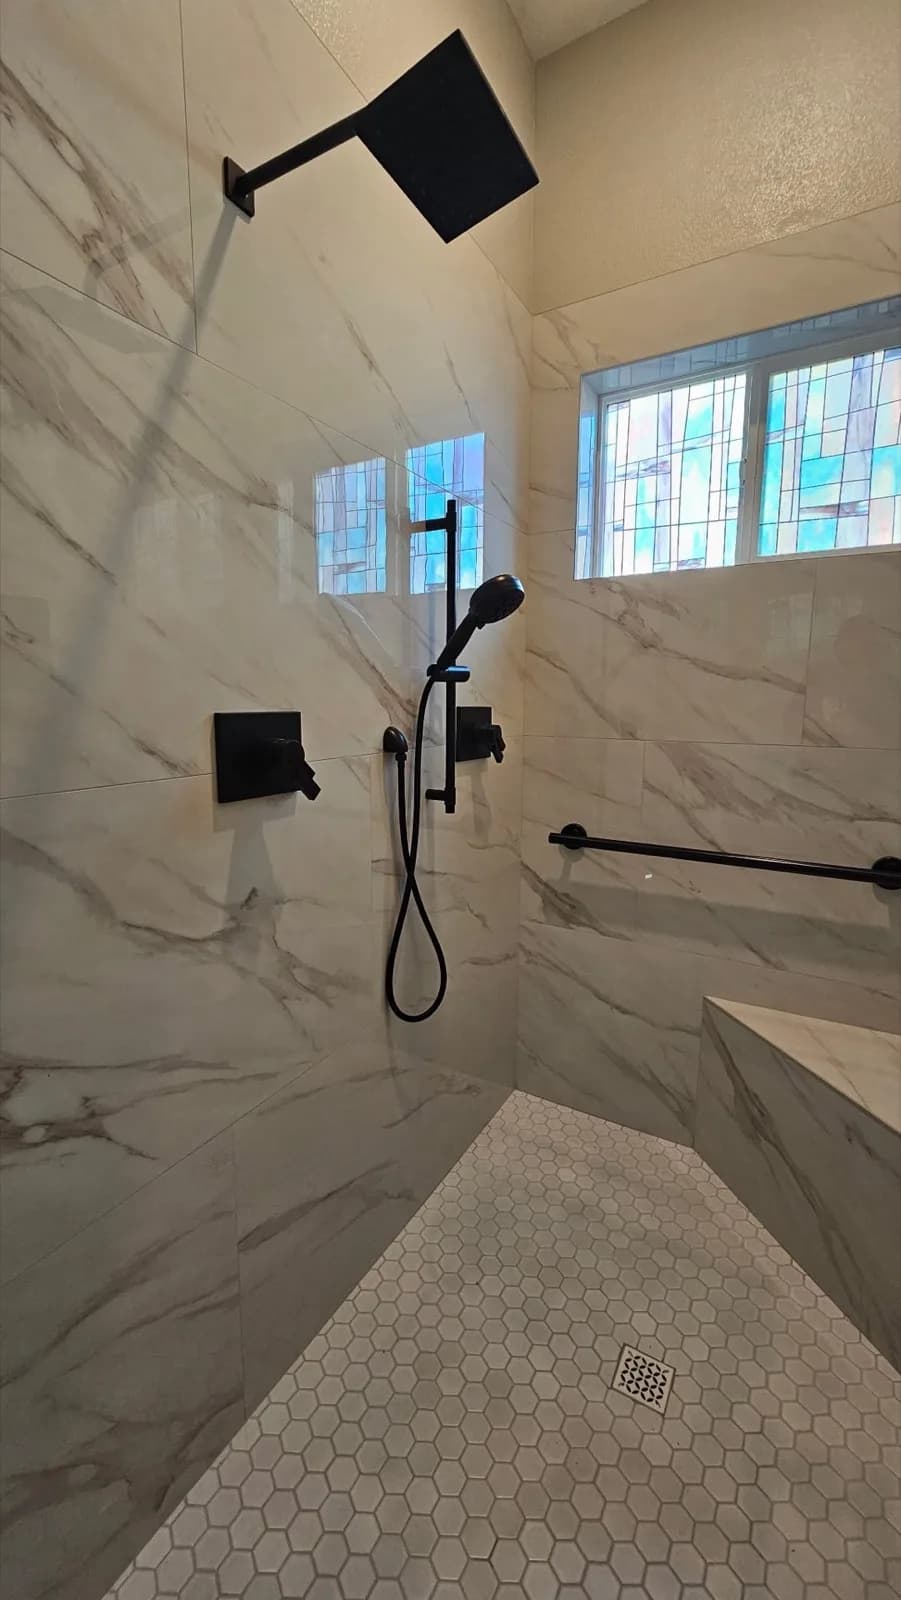
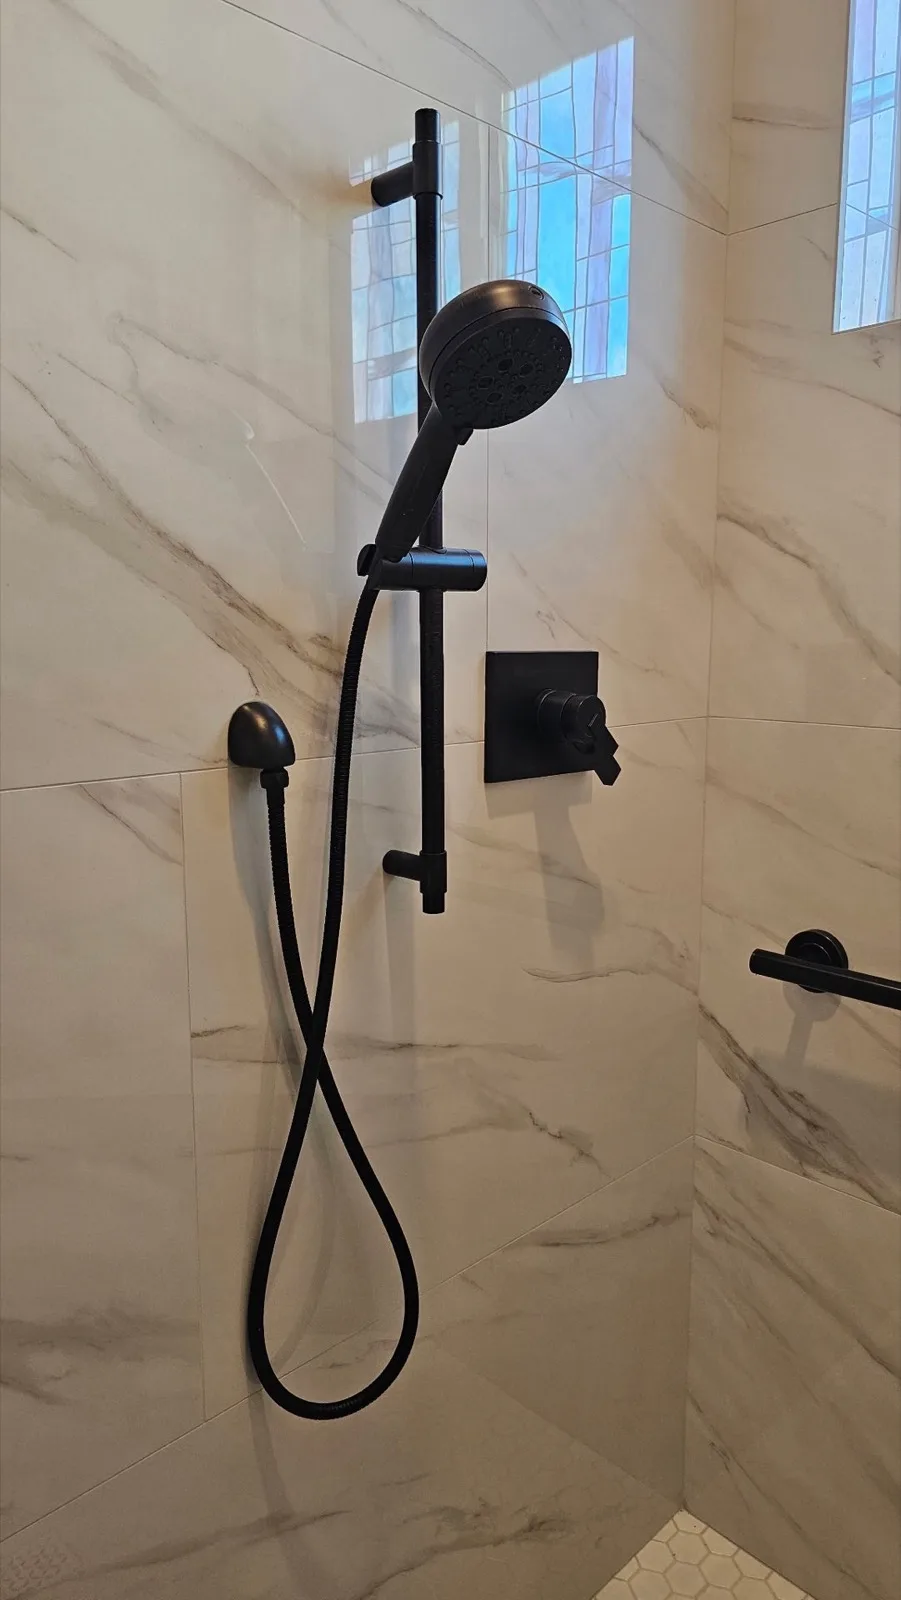
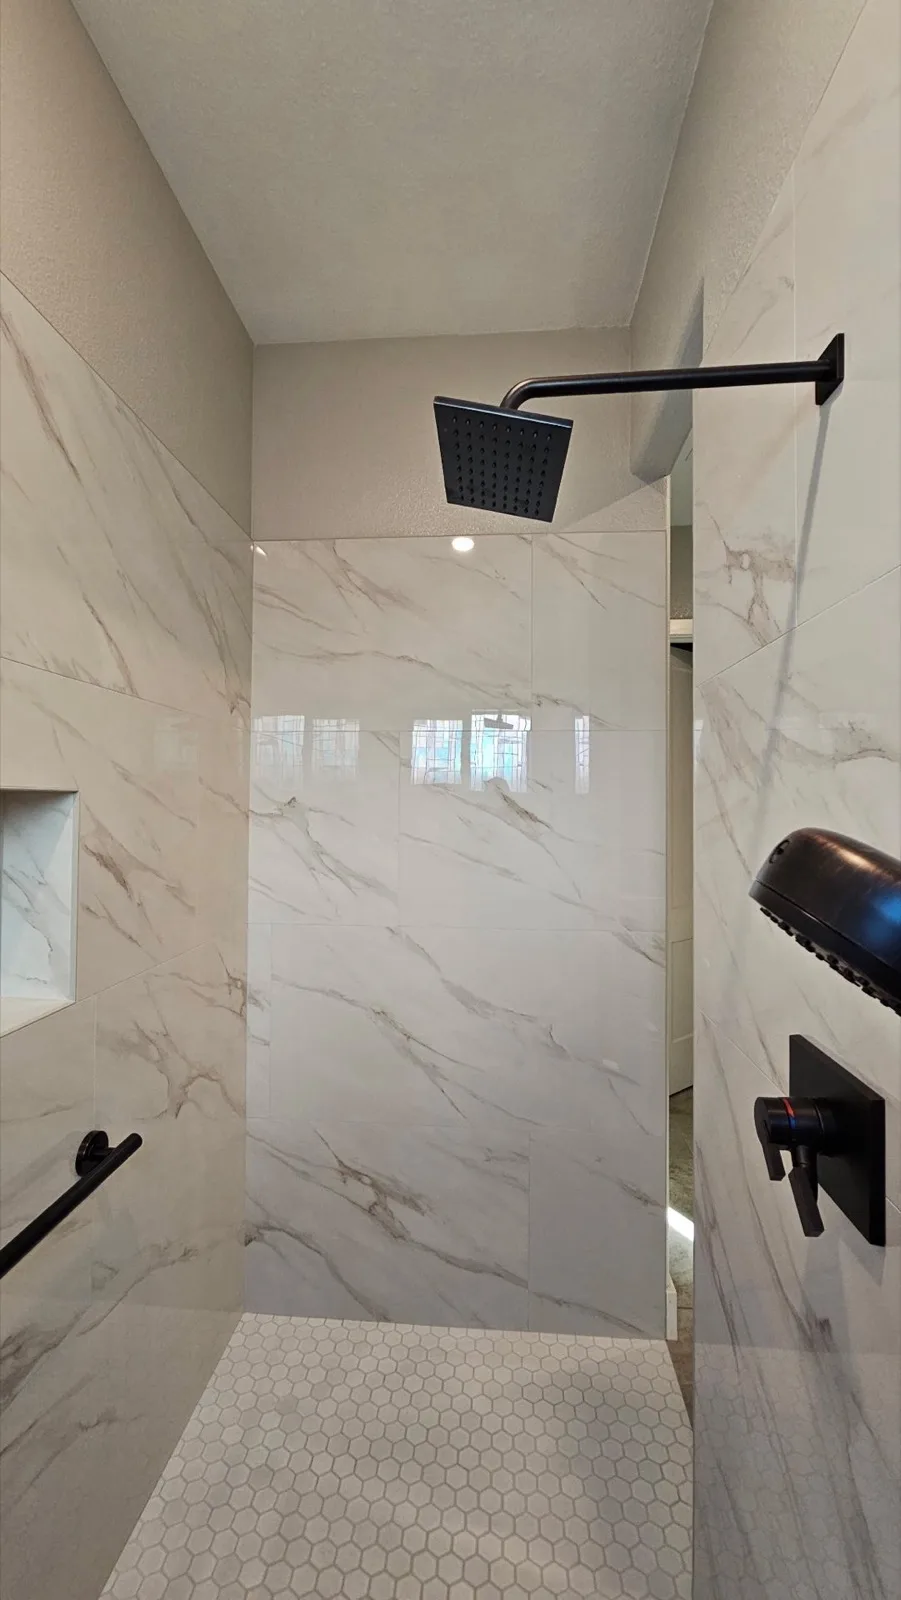
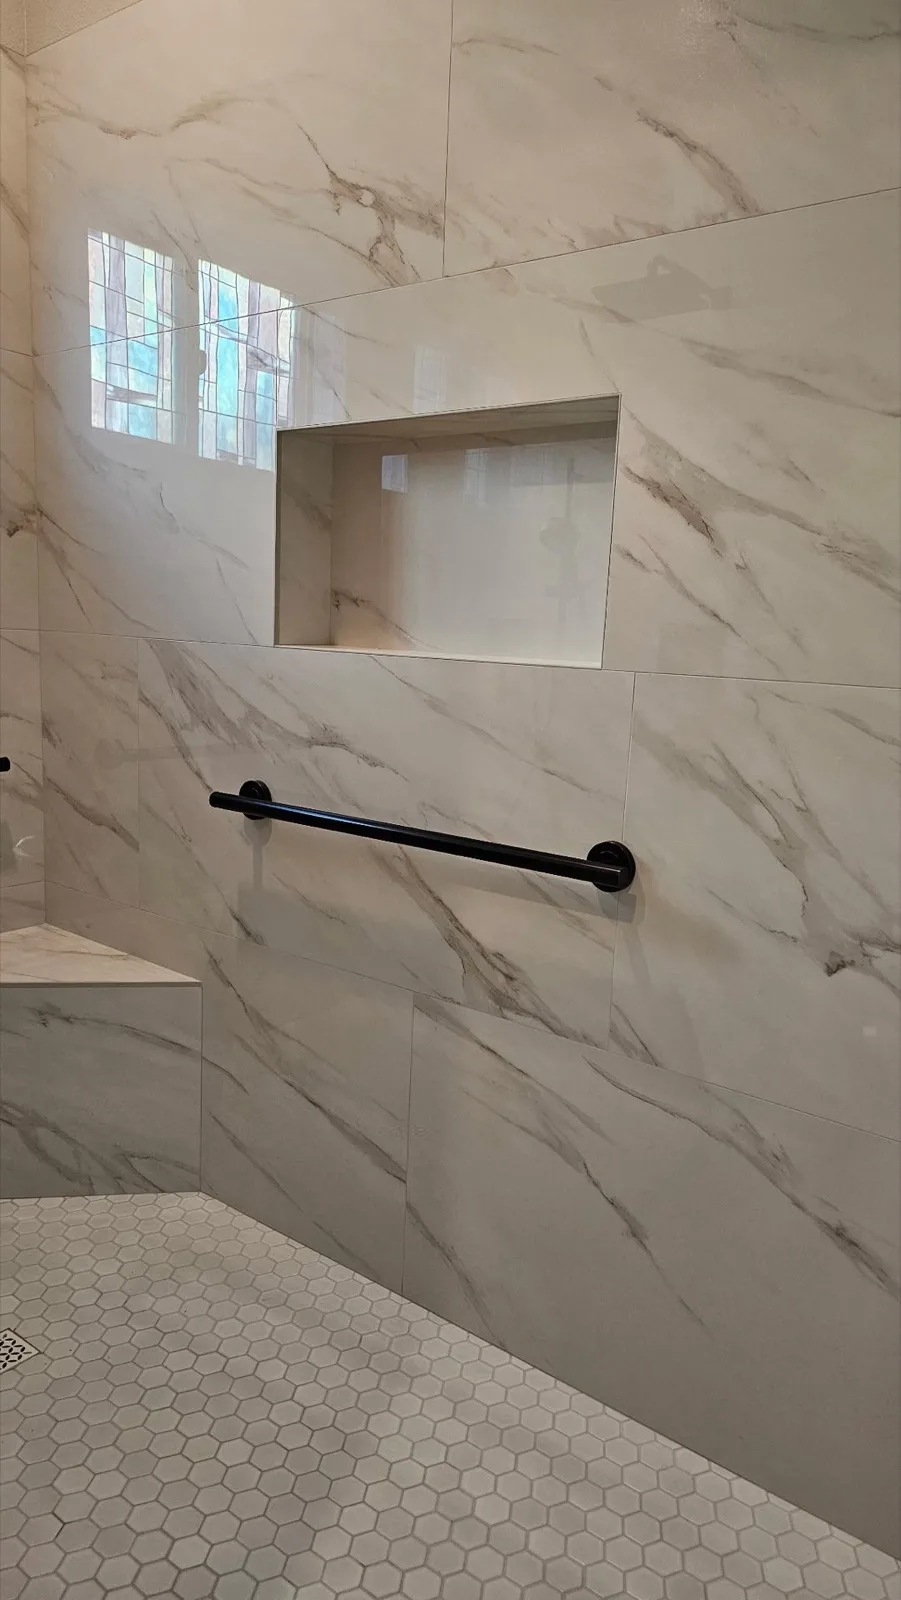
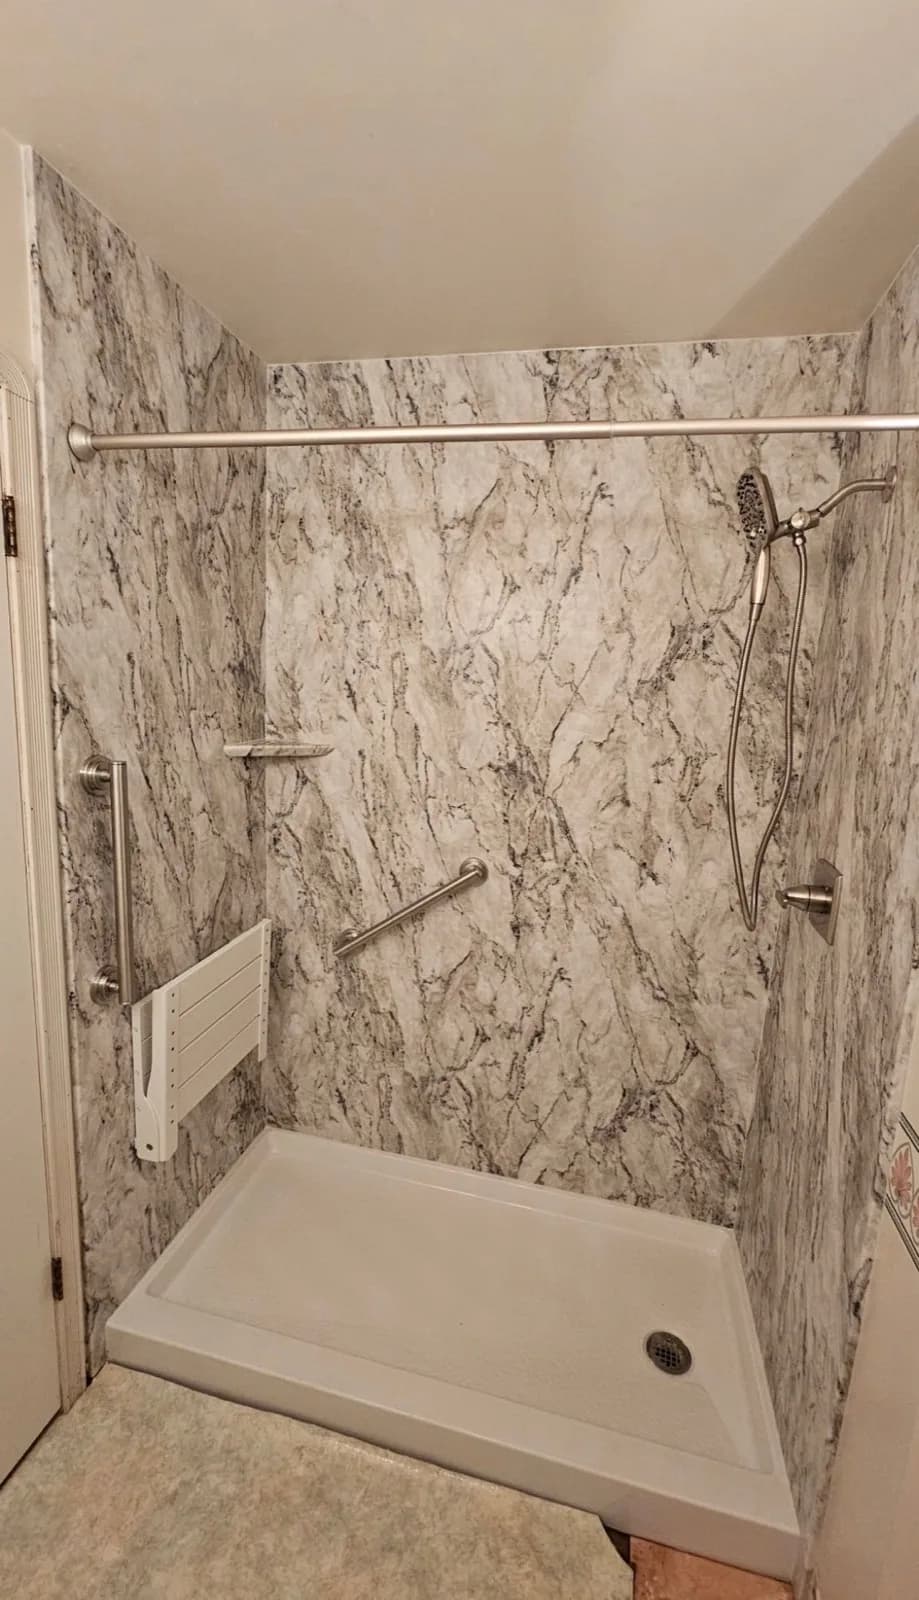
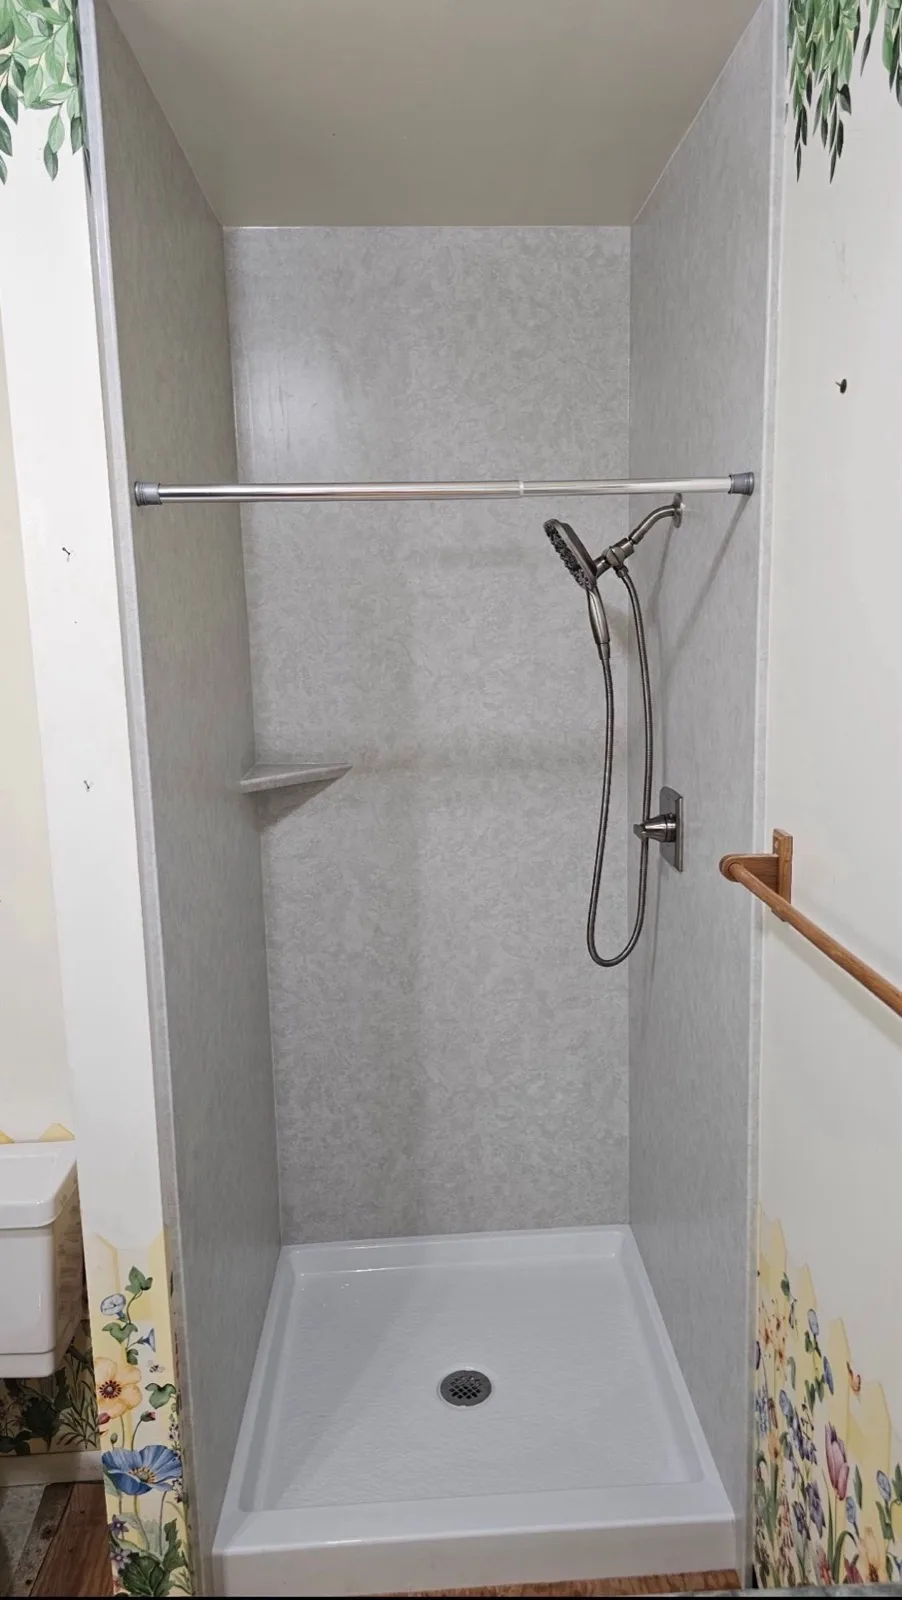
In the primary bathroom, we removed the non-load-bearing wall to create a wide, clear entry for wheelchair access. The shower was fully rebuilt with large-format Calacatta marble-look polished porcelain on all walls, a white hex mosaic floor base, and a zero-threshold entry. A built-in tiled bench provides a transfer point, two 36-inch matte black grab bars are positioned for entry and seated use, and a dual shower system — square rain head plus handheld on a slide bar, each on its own control valve — lets the user manage everything independently. A custom niche sits at bench height. The original stained glass windows were preserved. In the other two bathrooms, we pulled the original tile and repaired the dry rot under the subfloor before rebuilding each shower with acrylic wall panels. The homeowners chose a different color for each: marble-look white panels in one (with a fold-down bench) and a grey/concrete look in the other (with a corner shelf). Each shower got a new white base and handheld shower system.
Scope of Work
- 1Primary shower: remove non-load-bearing wall for wheelchair-width entry
- 2Primary shower: demo tile, curb and fixtures; install waterproofing and cement board
- 3Primary shower: set large-format Calacatta marble-look porcelain tile on all walls
- 4Primary shower: install white hex mosaic base, built-in bench, custom niche
- 5Primary shower: install two 36-inch matte black grab bars
- 6Primary shower: install dual matte black shower system with separate control valves
- 7Primary shower: install frameless glass panel
- 8Bathrooms 2 & 3: demo original tile and repair dry rot under subfloor
- 9Bathroom 2: install marble-look white acrylic wall panels, fold-down bench and white shower base
- 10Bathroom 3: install grey acrylic wall panels, corner shelf and white shower base
- 11Bathrooms 2 & 3: install handheld shower system in each
Materials Used
- ✓Large-format Calacatta marble-look polished porcelain tile
- ✓White hex mosaic shower floor base
- ✓Dual matte black shower system (rain head + handheld on separate control valves)
- ✓Two 36-inch matte black grab bars
- ✓Frameless glass shower panel
- ✓Built-in bench tiled in marble-look porcelain
- ✓Custom recessed niche
- ✓Marble-look white acrylic shower wall panels
- ✓Grey/concrete-look acrylic shower wall panels
- ✓White shower bases (bathrooms 2 & 3)
Key Features
- ✓Three showers remodeled in one job
- ✓Non-load-bearing wall removed for wheelchair entry
- ✓Zero-threshold accessible shower with bench and grab bars
- ✓Dual matte black shower heads on separate control valves
- ✓Dry rot repaired under two bathroom floors
- ✓Custom acrylic wall color per shower
- ✓Fold-down bench in second shower
- ✓Stained glass windows preserved
Questions About This Roseville Project
Can you remove a wall to make a shower wheelchair accessible in Roseville?
Yes, provided the wall is non-load-bearing, which is the case in most residential bathrooms where the shower sits adjacent to a hallway or closet. We verify the structure before any demo. In this Roseville project, removing the wall created a clear opening wide enough for a wheelchair and a caregiver side by side. The opening was then framed, drywalled and tiled to match the new shower finish.
What does a wheelchair-accessible shower remodel cost in Roseville?
Accessible shower remodels in Roseville typically range from $10,000 to $25,000 depending on whether wall removal is involved, the size of the shower, the tile or material used and the number of grab bars and accessibility fixtures specified. This project — which included wall removal, large-format tile, a built-in bench, two 36-inch grab bars and a dual shower system with separate valves — sits at the higher end of that range. We provide free on-site estimates.
What is a dual shower system with separate control valves?
A dual shower system means two shower heads — in this Roseville project, a wall-mounted square rain head and a handheld on a slide bar. Separate control valves means each head has its own dedicated shut-off valve, so a seated user can turn on just the handheld without the rain head running. This is a meaningful accessibility feature: it allows independent control without reaching across the shower or standing.
How is dry rot under a bathroom floor repaired during a shower remodel?
Dry rot under a bathroom floor is caused by water penetrating the subfloor over time, typically at the shower threshold or around the toilet. During demo we remove the original tile and flooring to expose the subfloor, then cut out and replace any rotted sections with new plywood or OSB. The subfloor is treated and allowed to dry before new waterproofing and backer board are installed. Skipping this step is a common contractor shortcut — it leaves the rot to spread under the new finish.
Do you do shower remodeling in Roseville, CA?
Yes. Roseville is one of our primary service areas in Placer County. We have completed multiple shower and bathroom remodels in Roseville neighborhoods including West Roseville, Granite Bay border areas and central Roseville. The project on this page shows completed work you can inspect.
Related Services
How Much Does a Bathroom Remodel Cost in Roseville?
See our complete 2026 cost breakdown with real pricing by service type, tier, and line item.
View Roseville Bathroom Remodel Cost Guide →Bathroom Remodeling in Roseville, CA
Learn about all our bathroom remodeling services available in Roseville neighborhoods.
Visit our Roseville service area page →More Bathroom Projects
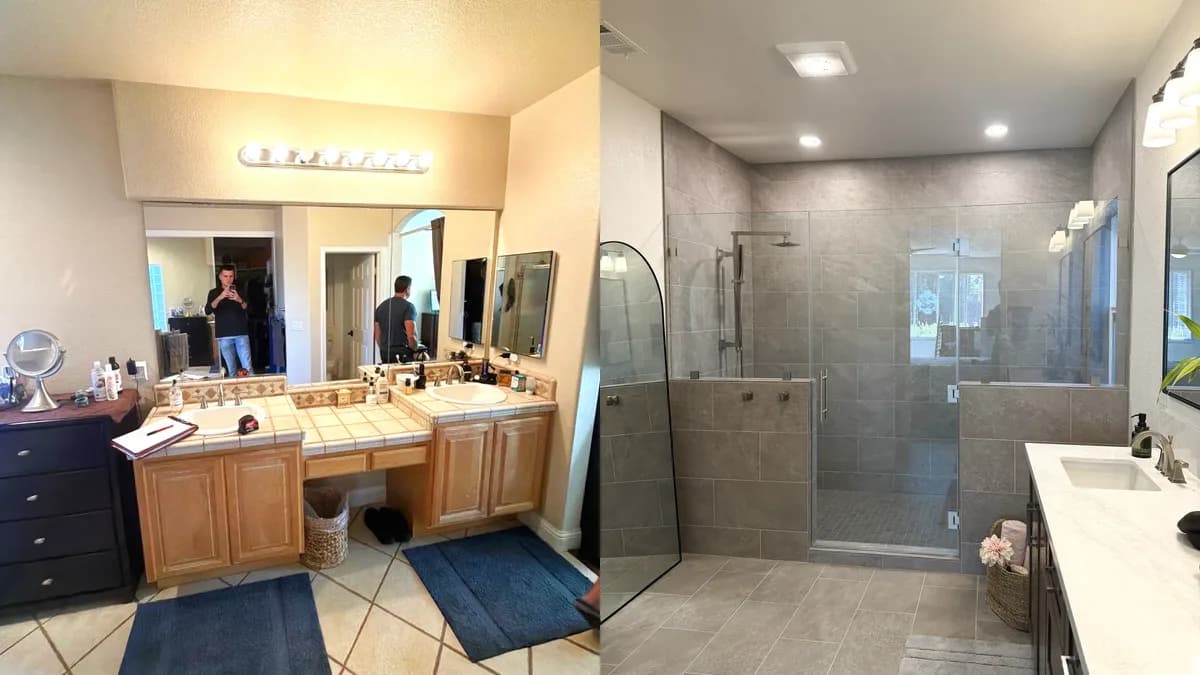
Master Bathroom Remodel with Walk-In Shower and Dark Vanity in Roseville, CA
Roseville, CA
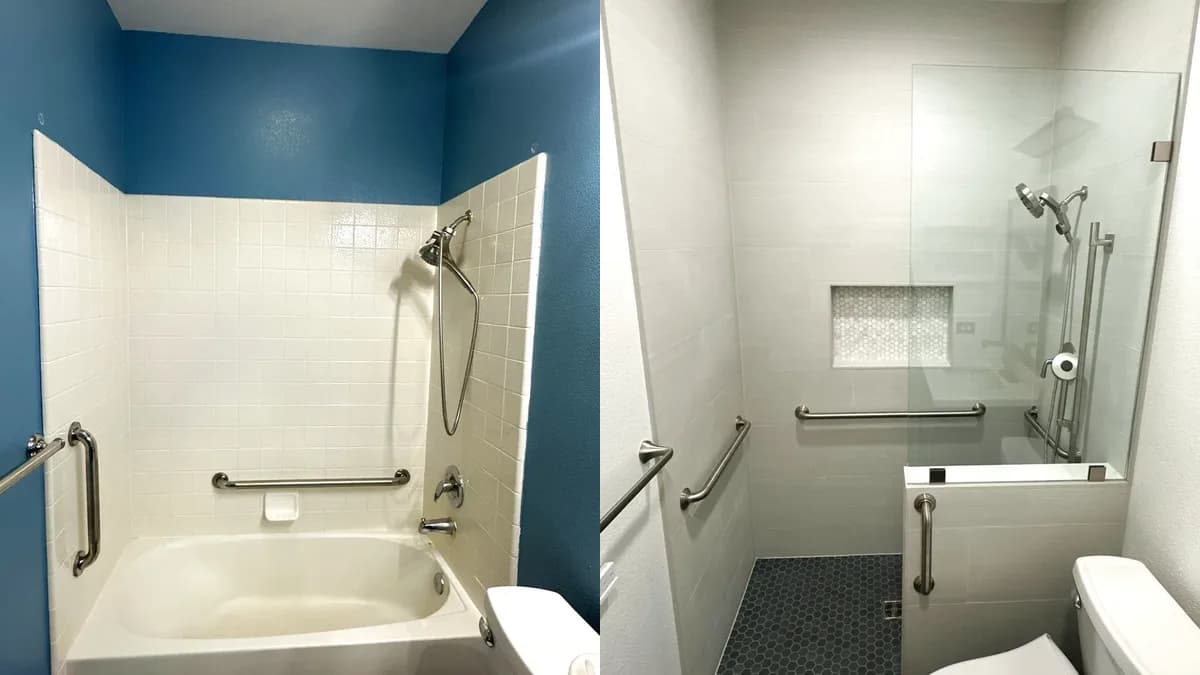
Accessible Tub-to-Shower Conversion with Grab Bars in Roseville, CA
Roseville, CA
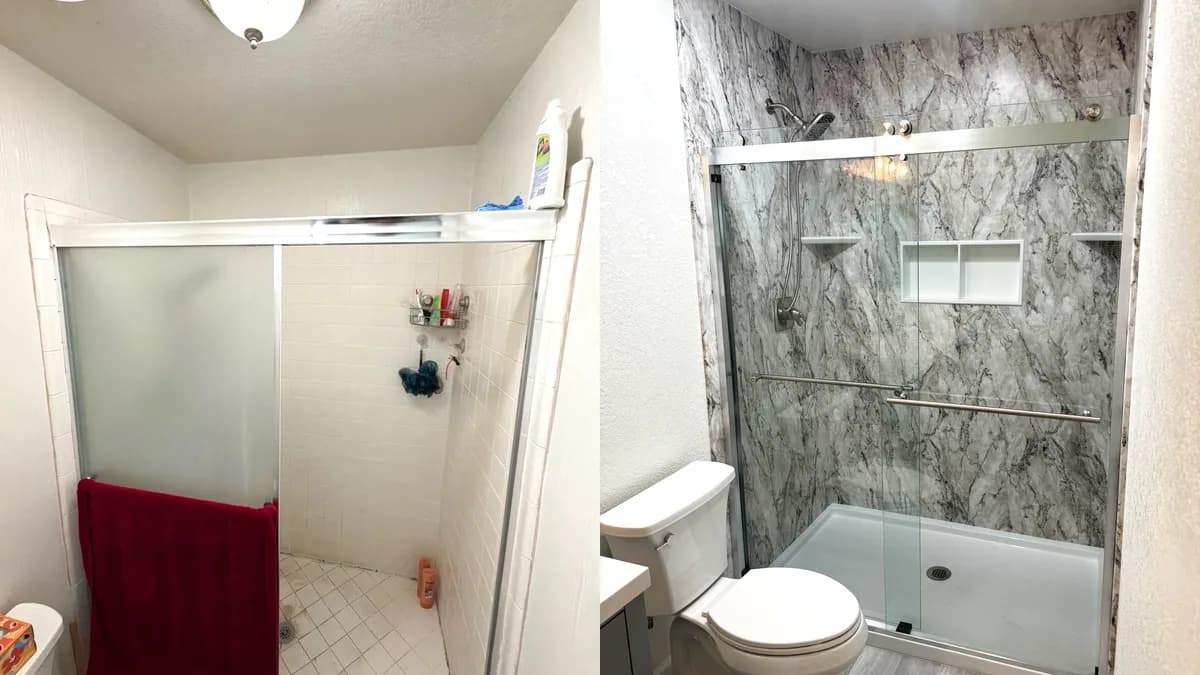
Full Master Bathroom Remodel with Marble-Look Acrylic Shower Walls in Citrus Heights, CA
Citrus Heights, CA
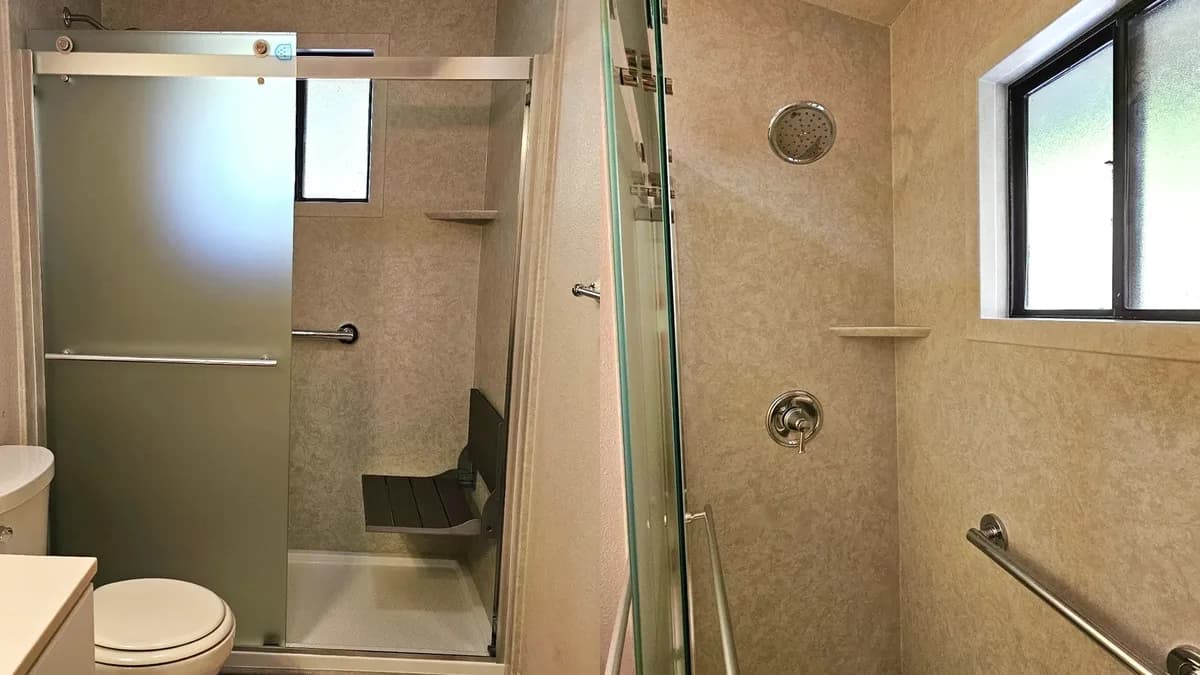
Tub-to-Shower Conversion with Acrylic Walls and Fold-Down Seat in Auburn, CA
Auburn, CA
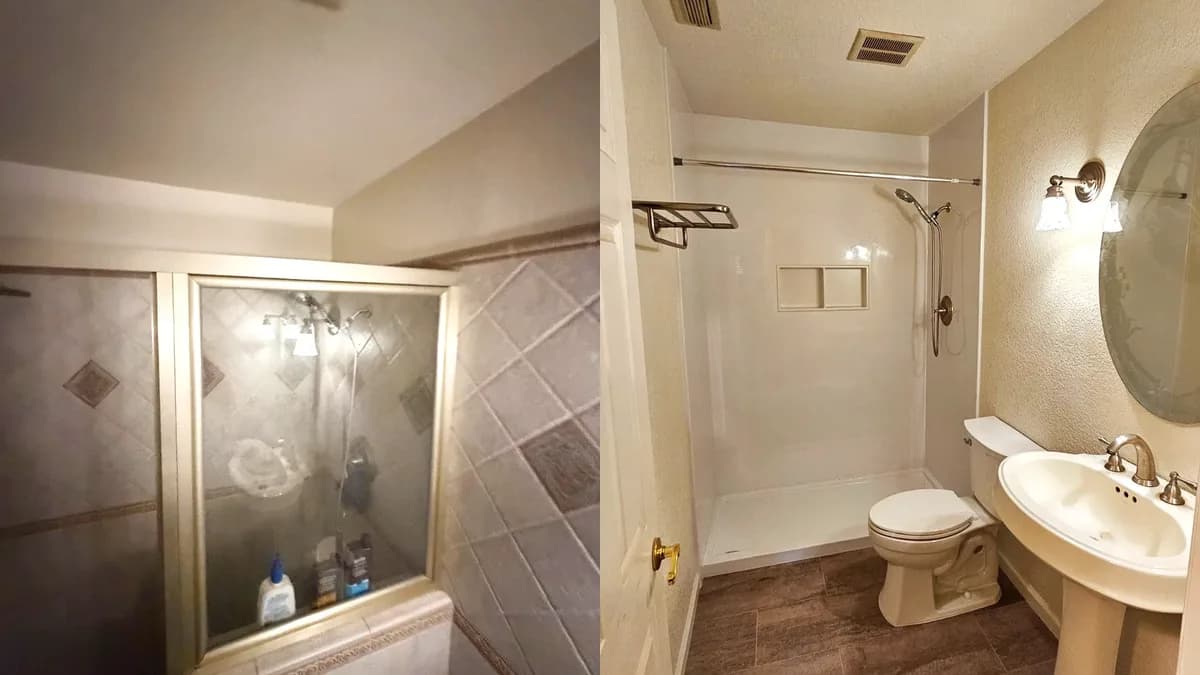
Hallway Bathroom Remodel with Acrylic Shower Walls and Vinyl Plank Floor in Woodland, CA
Woodland, CA
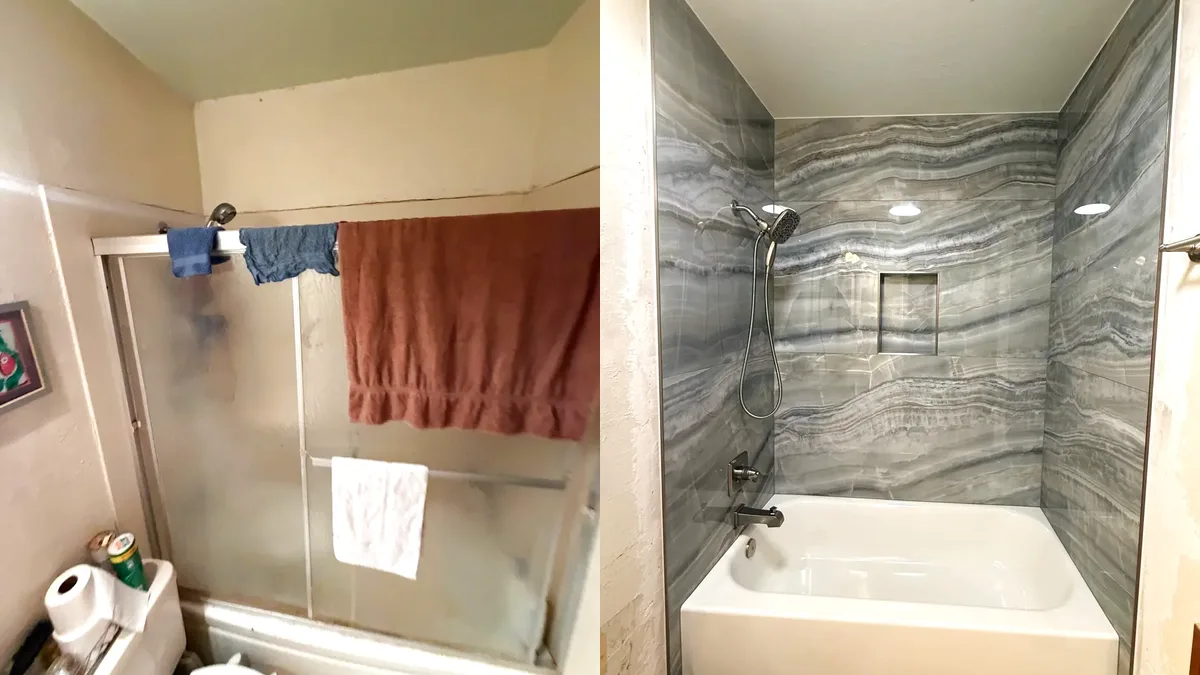
Tub-Shower Tile Remodel with Onyx-Look Porcelain in Woodland, CA
Woodland, CA
Get Your Free Estimate
Schedule your consultation today
Get a Free Estimate
Call us at (916) 907-8782 or fill out our contact form.